One-shot Fishing
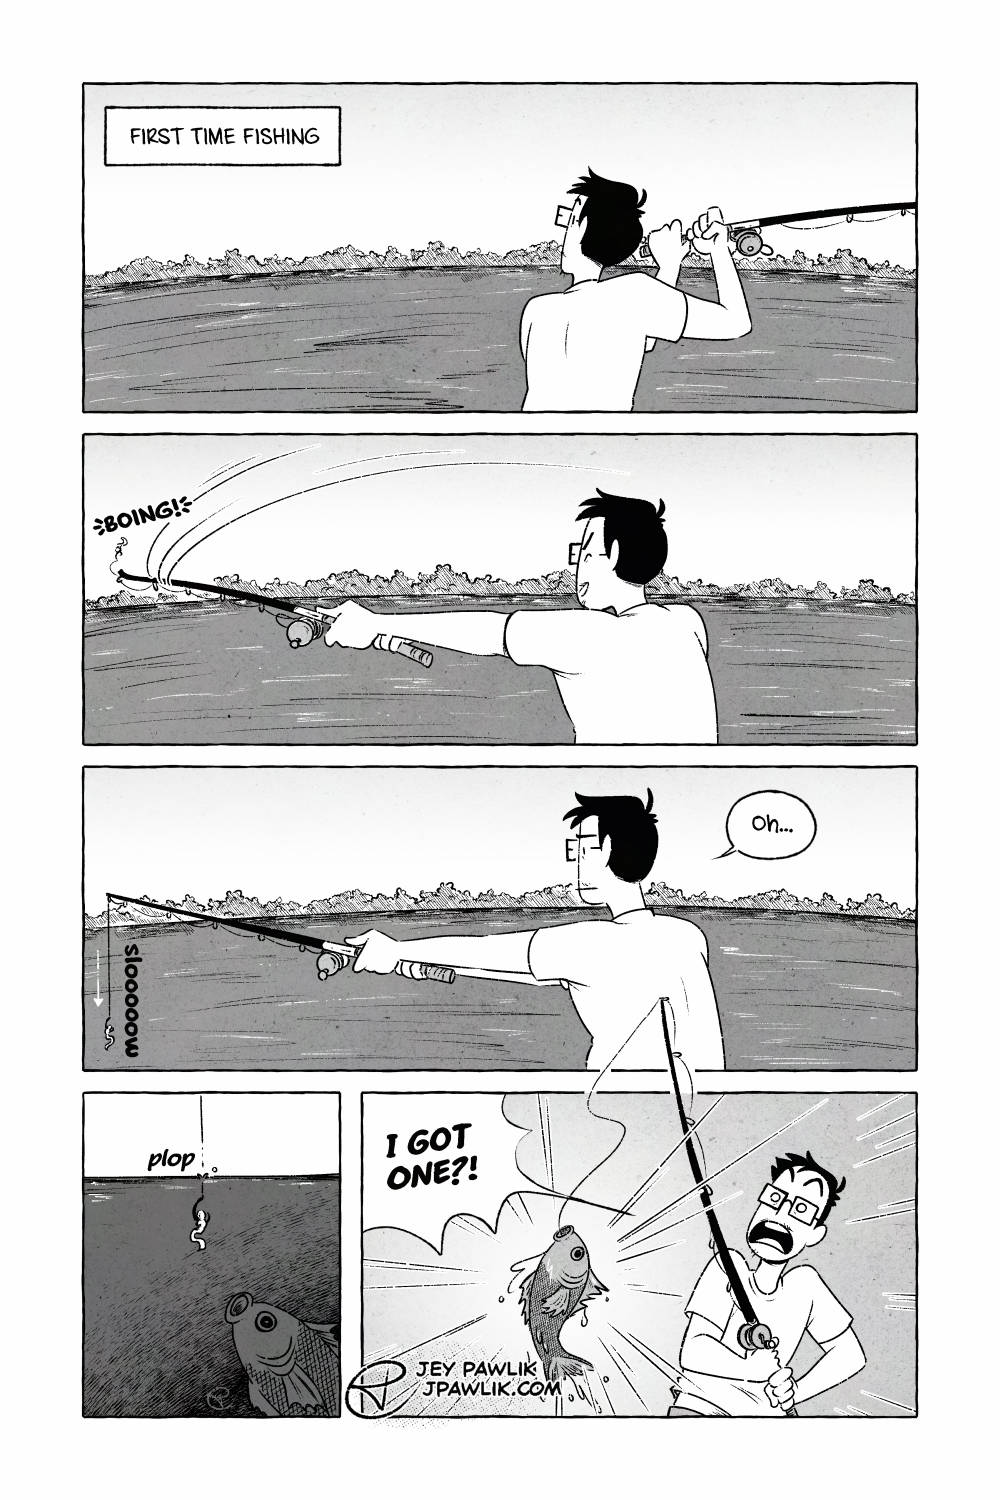
My good friend Amiel taught me how to fish this summer and this was my first time throwing a line out! It was very exciting, even if the line didn’t actually go anywhere.
I got the hang of throwing the line eventually.
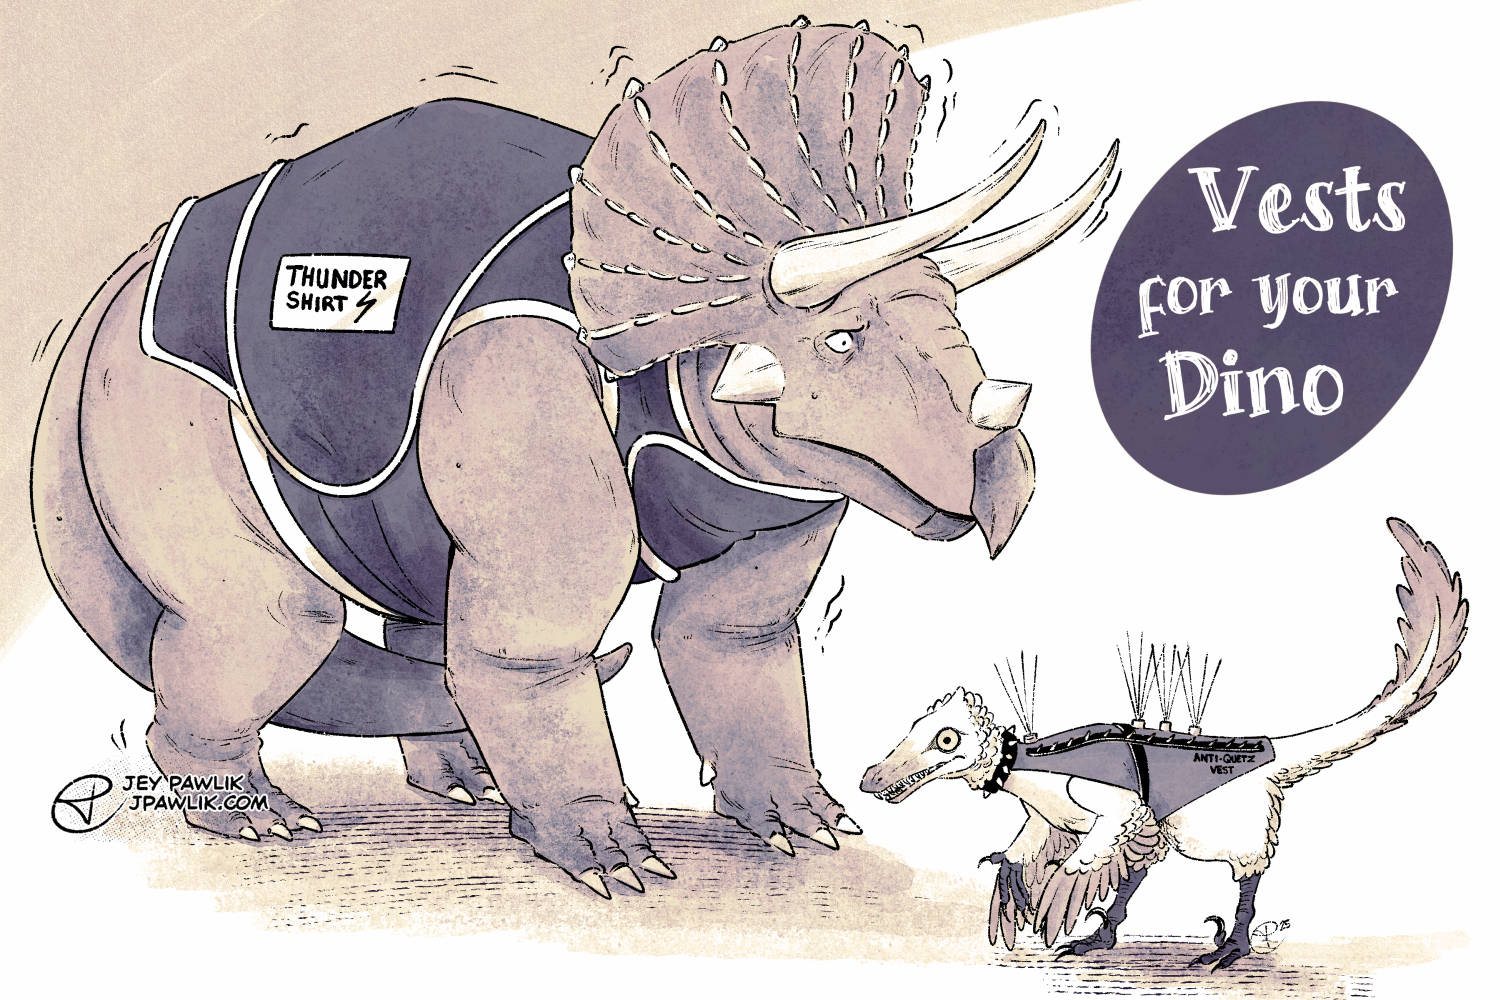
A silly joke in the group chat that I desperately needed to draw!
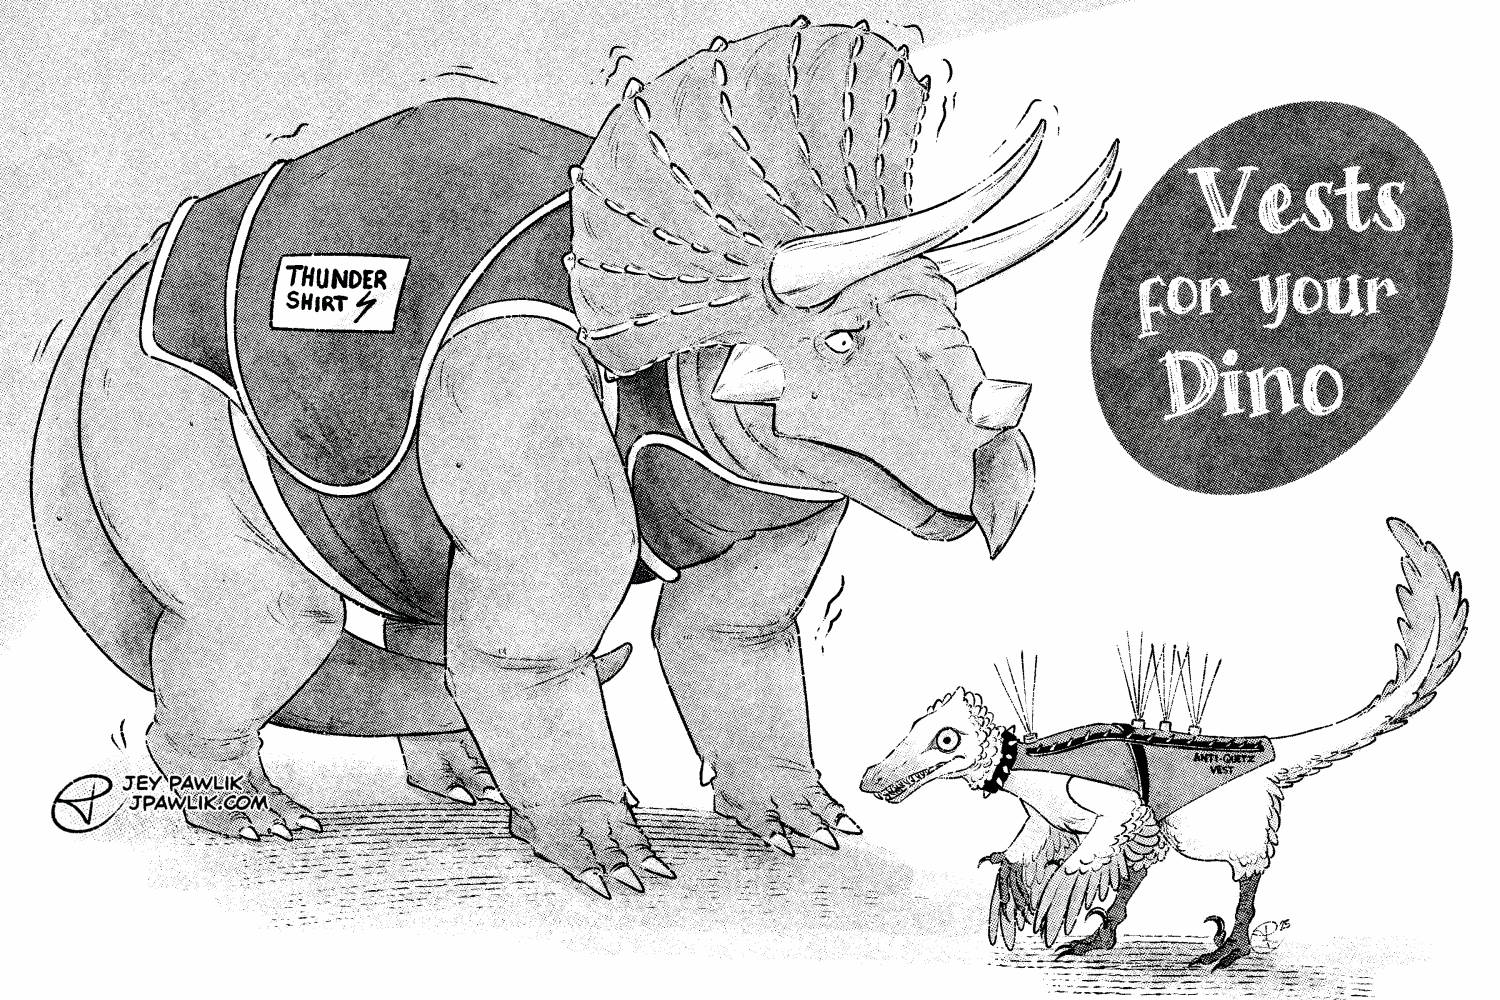
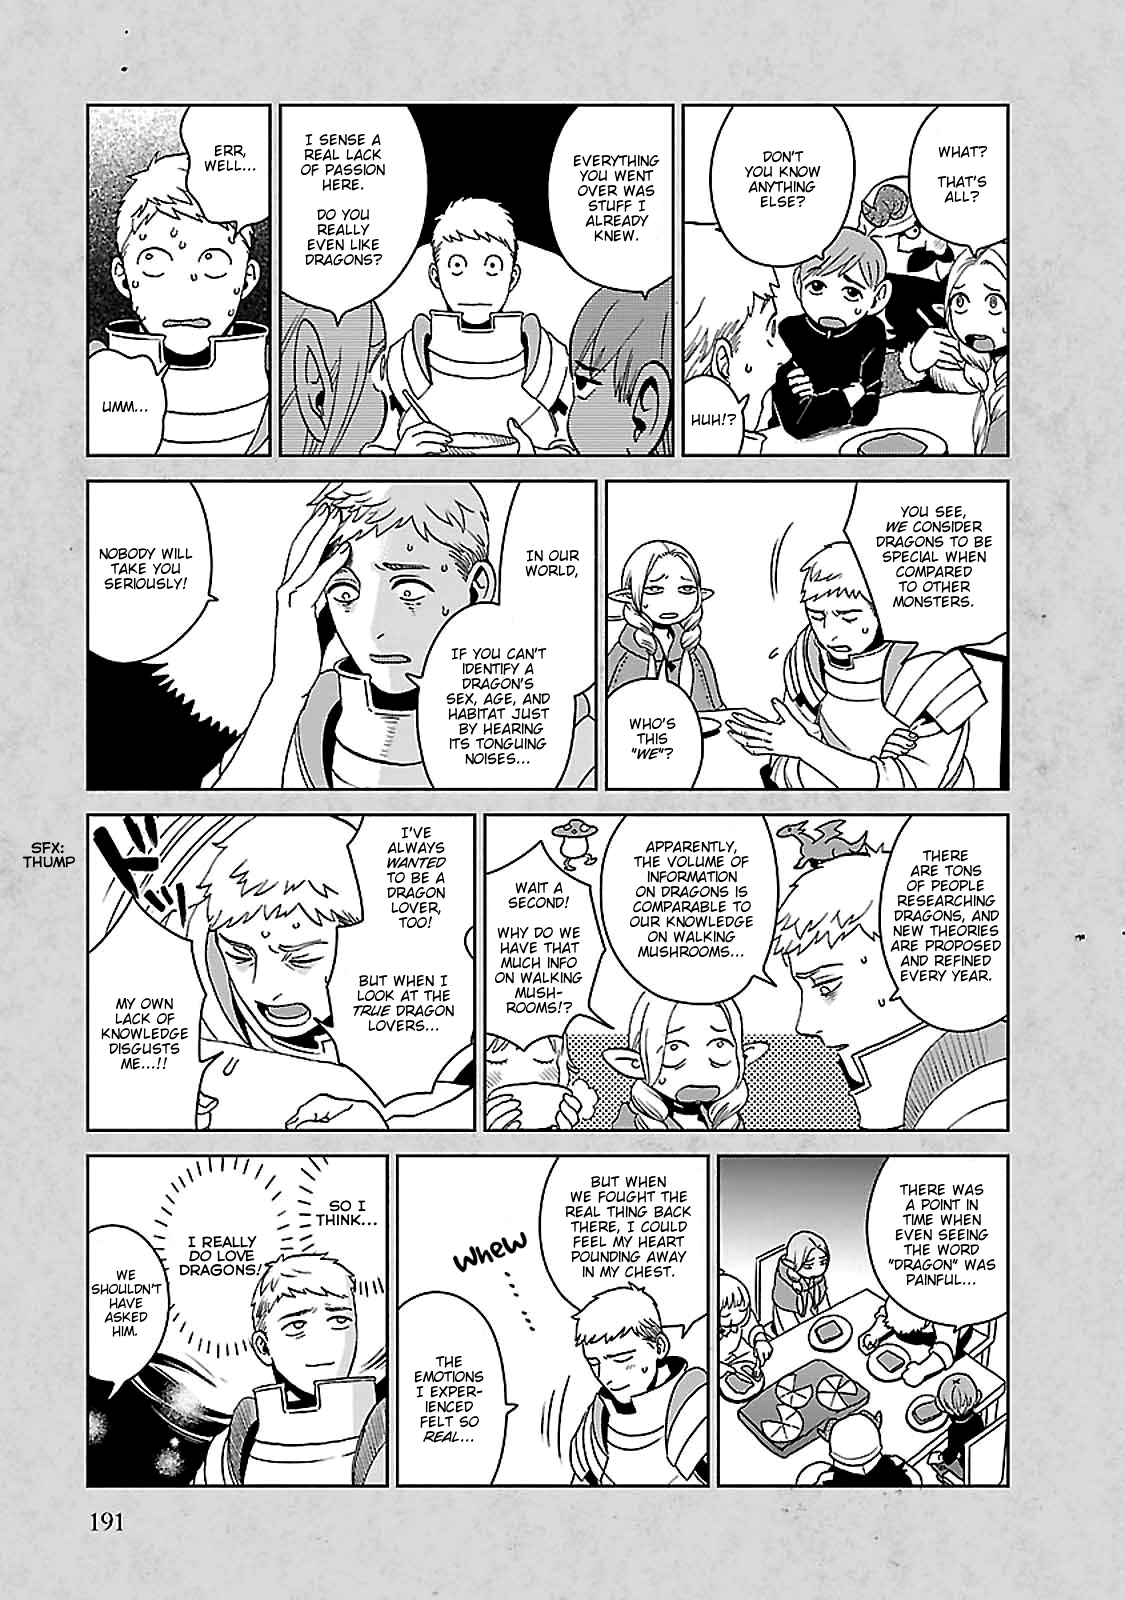
Y’know I was a big dino kid growing up, and still absolutely love dinosaurs but I get so anxious drawing them due to “accuracy”. I love them but not as much as folks who REALLY love them.
I feel like Laios in Delicious in Dungeon about dragons:
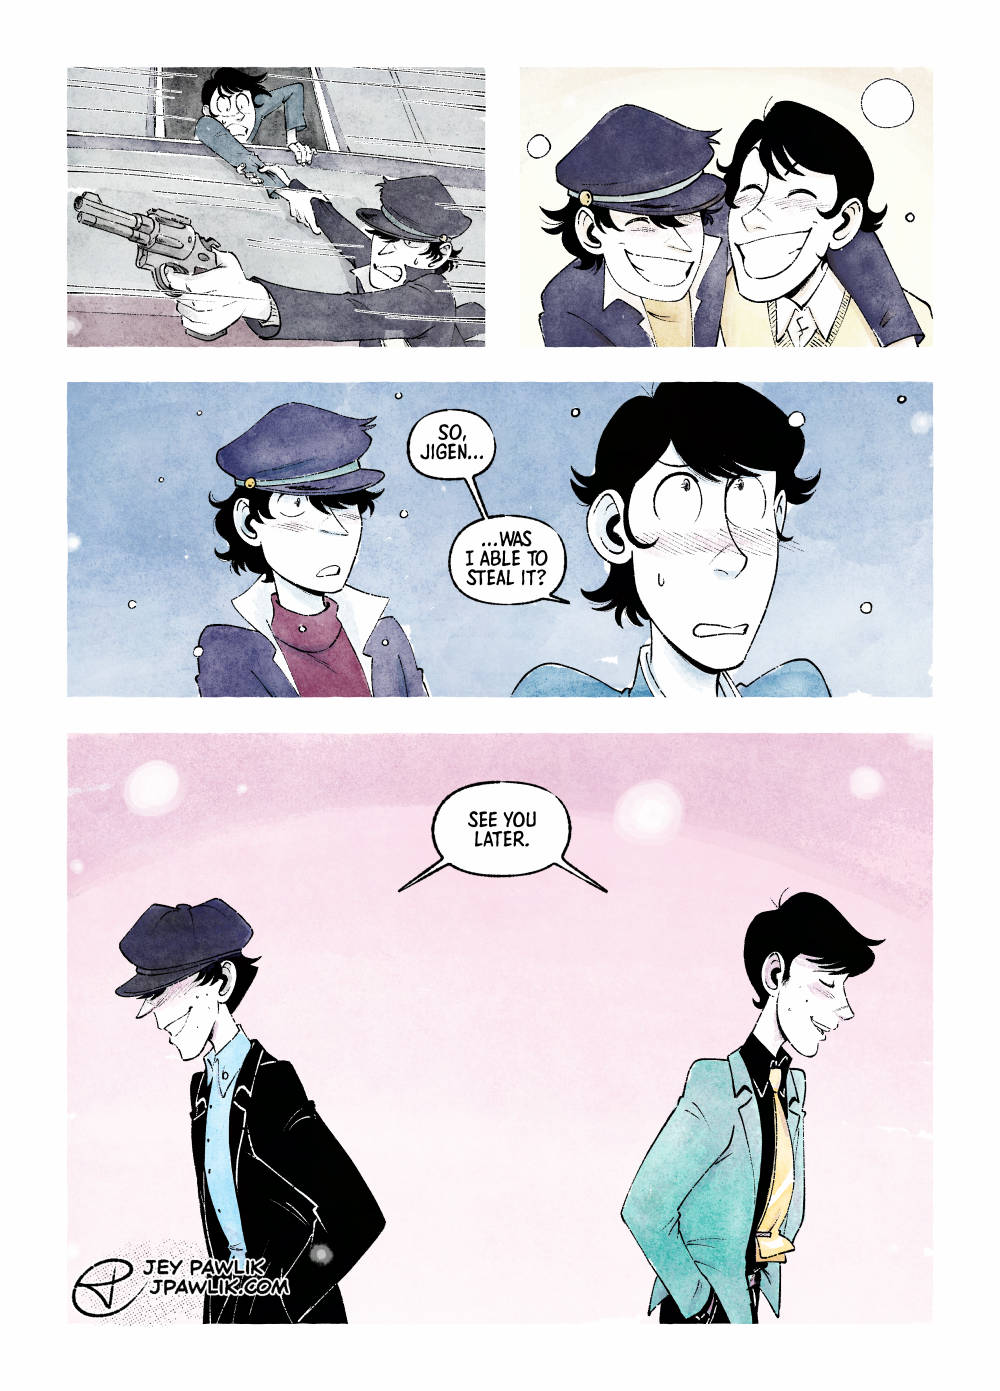
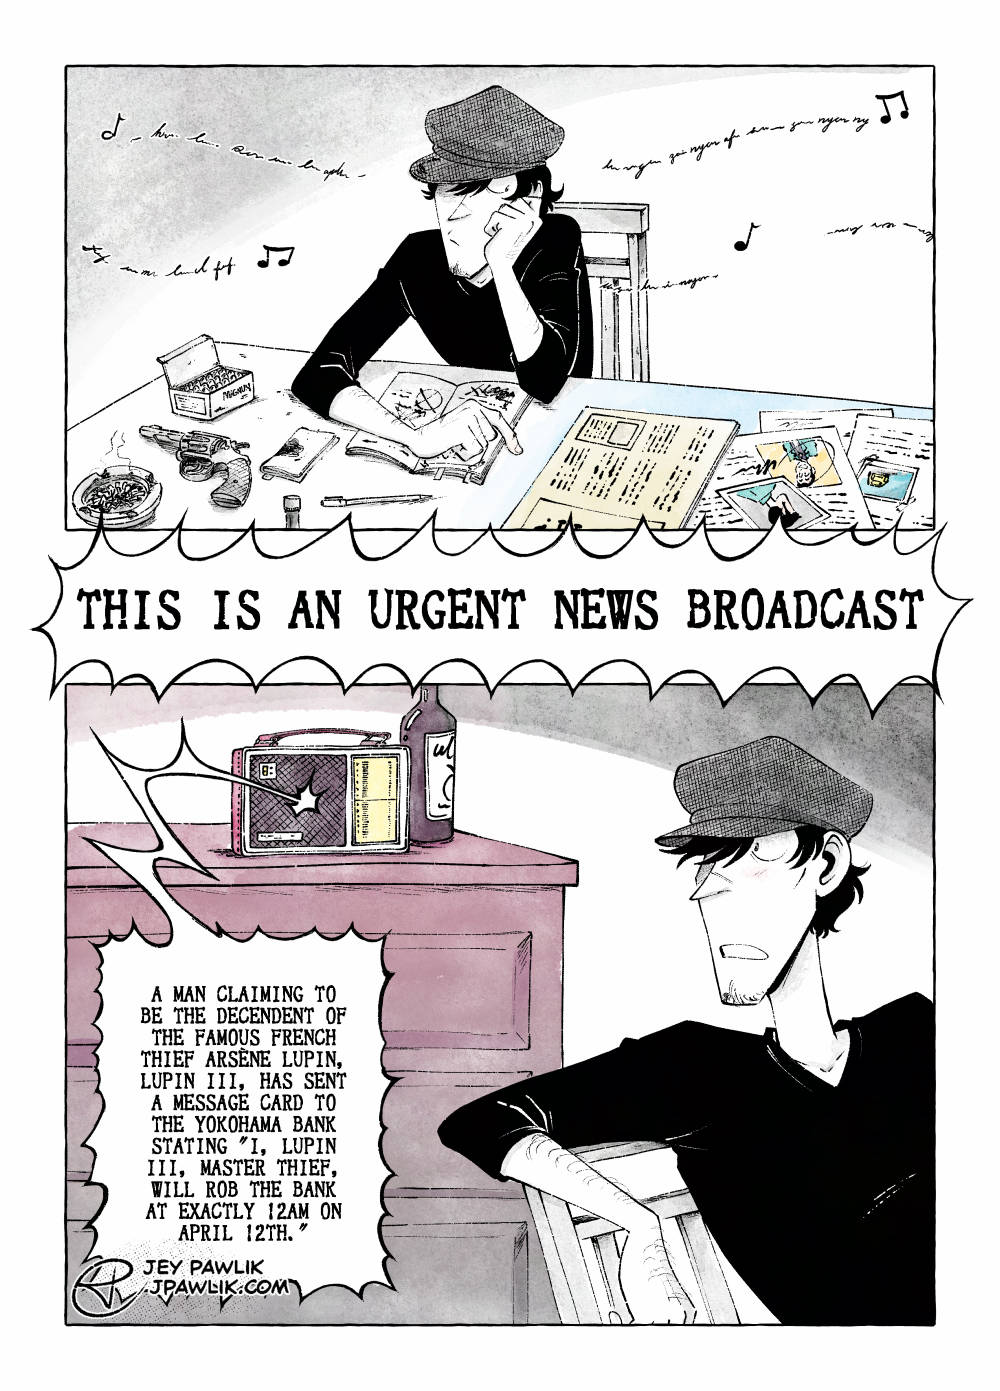
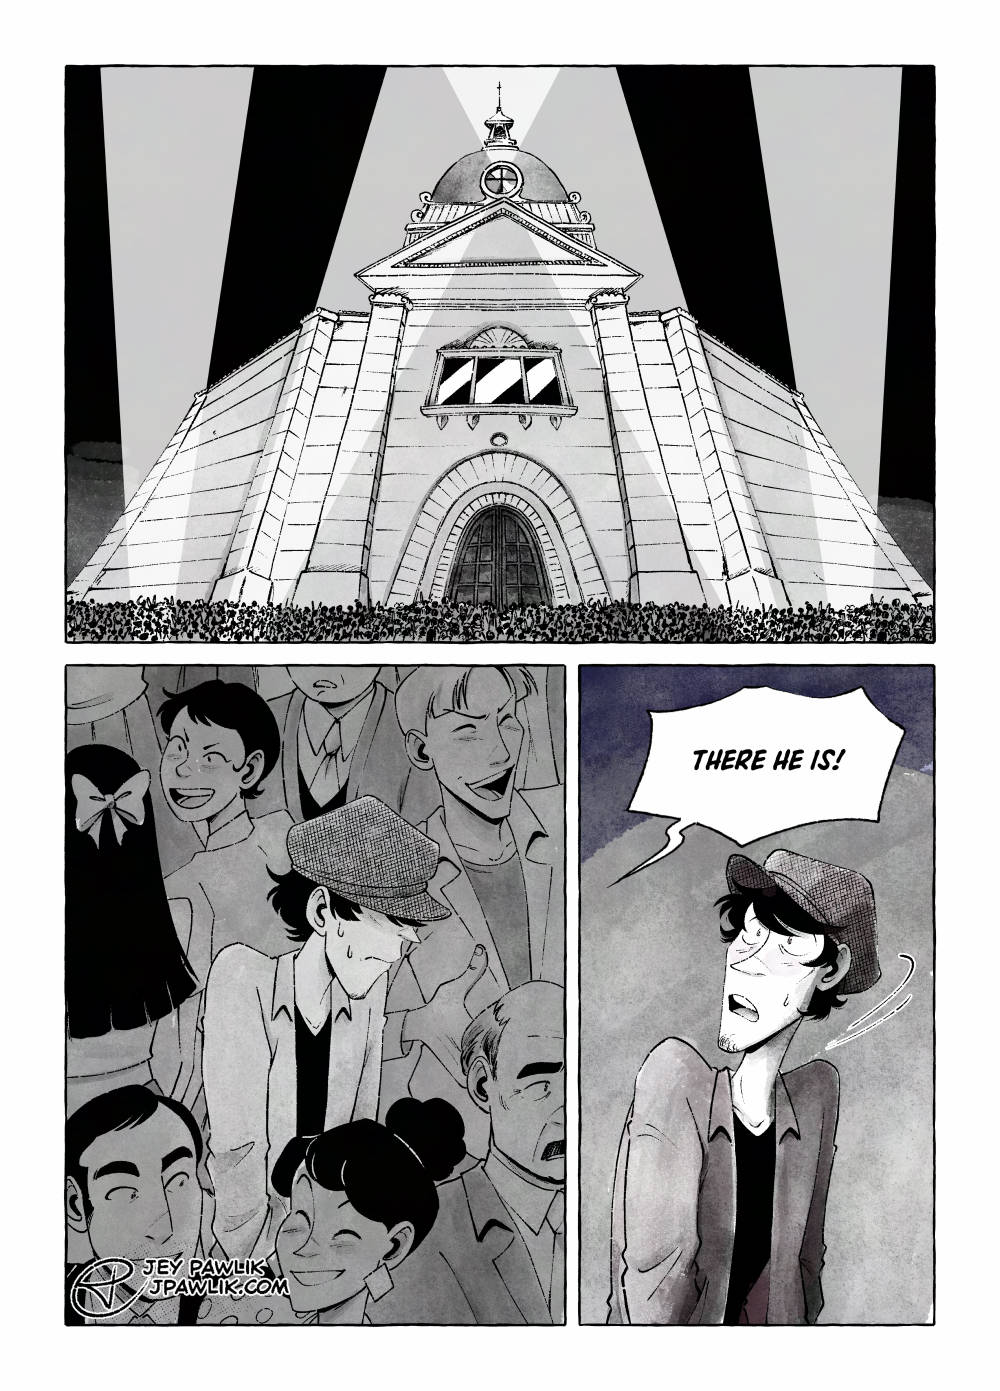
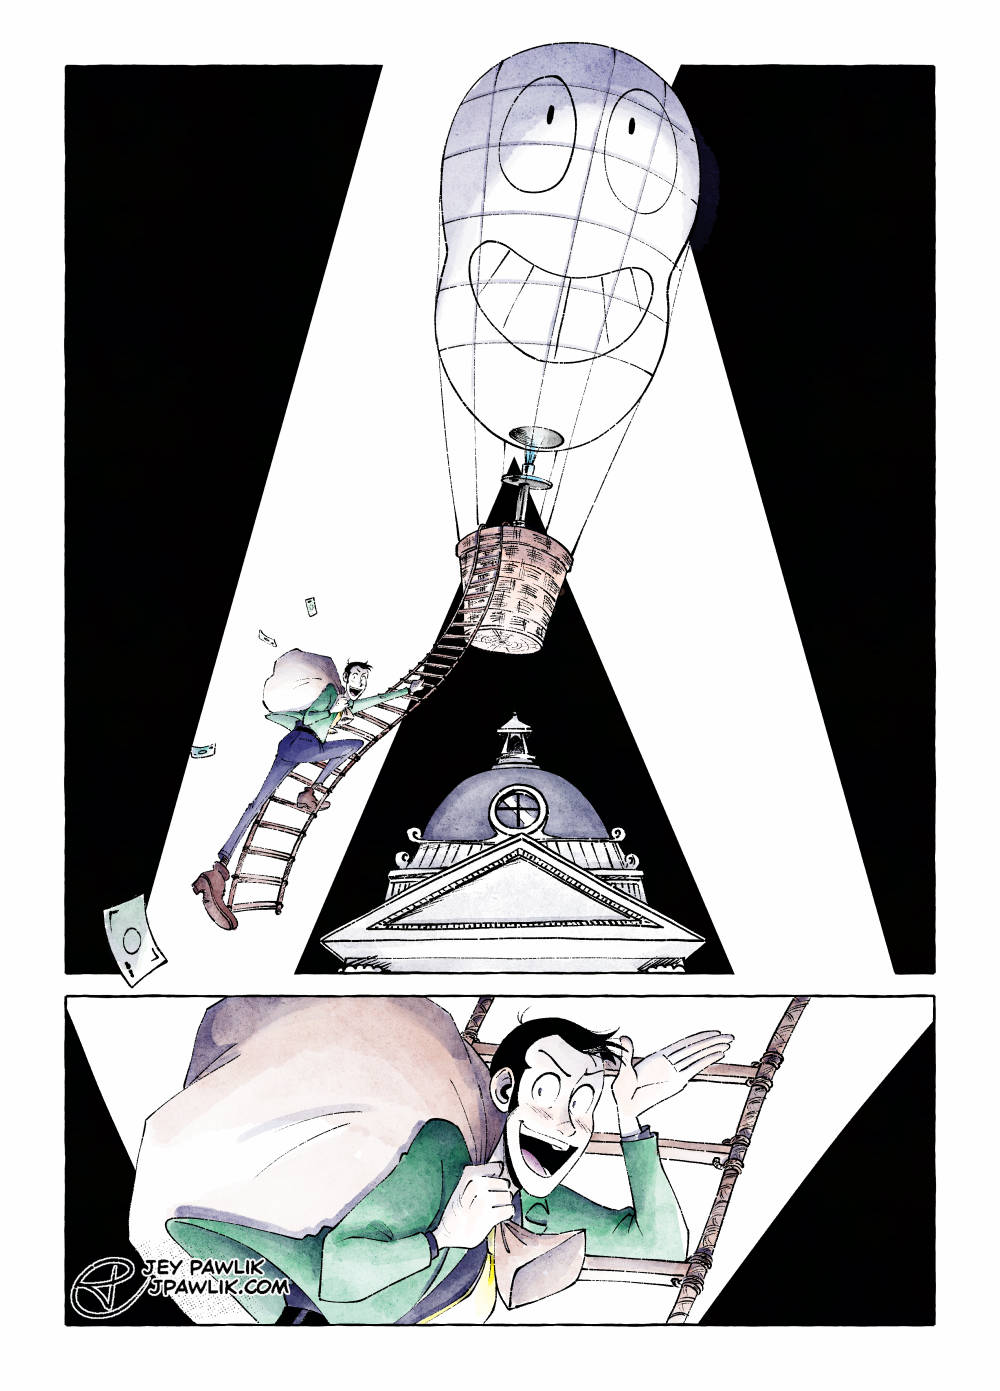
Jigen Now and Then


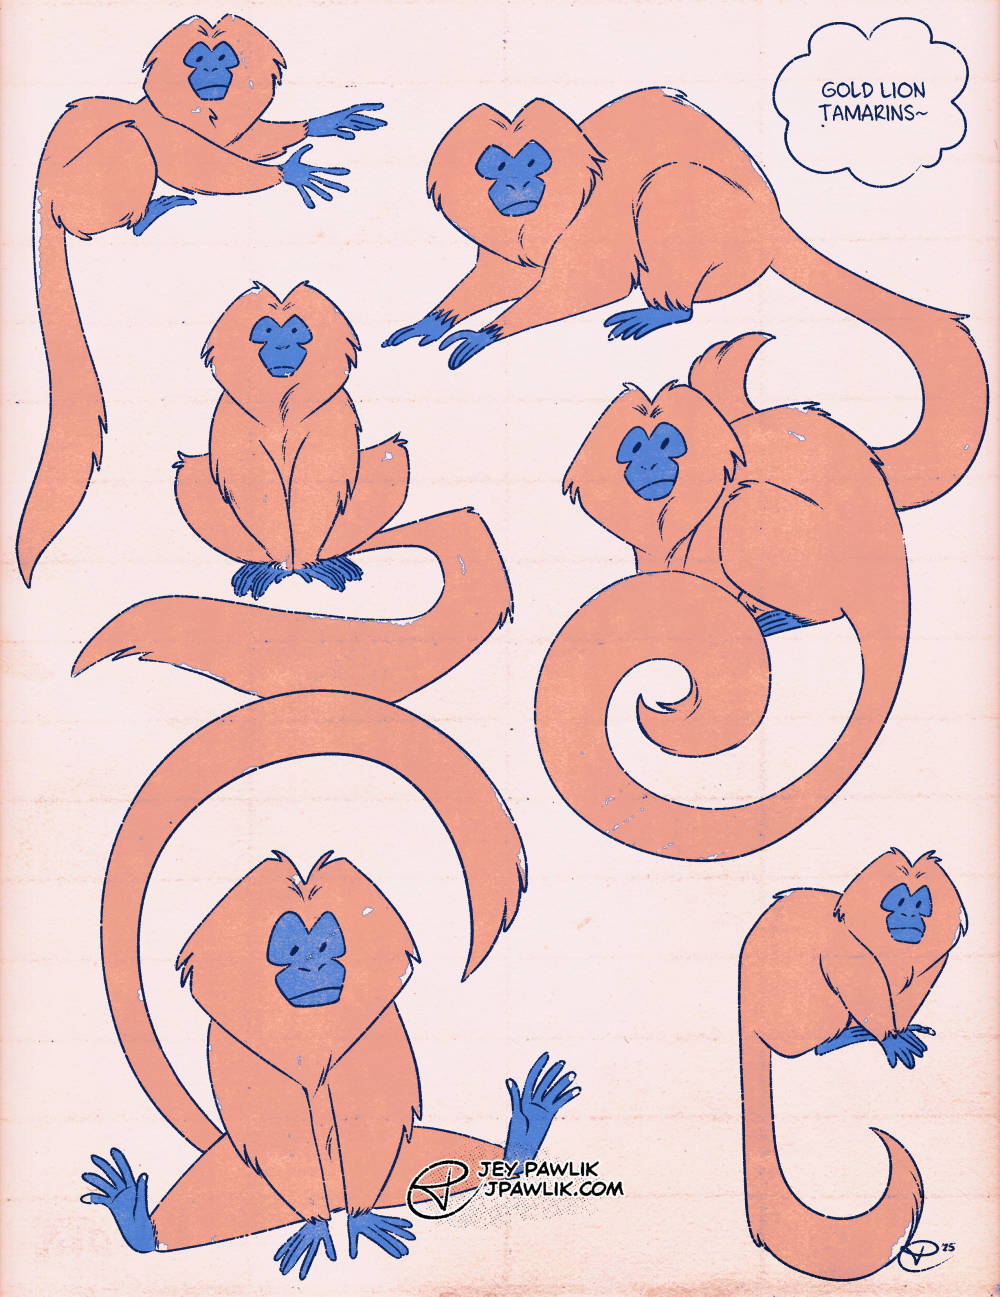
So I always go to the zoo for my birthday every year, and every time we must go see the wonderful Golden Lion Tamarins!
I think I just like little animals with orange bodies and blue faces.
Something may be on the horizon with this design so keep your eyes out!
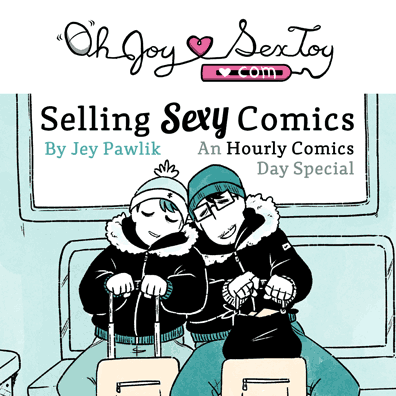
My hourlies that I made and posted for Oh Joy Sex Toy!
This comic is slightly NSFW, click through to read it (18+only)
This is officially my TENTH YEAR drawing an hourly comics day comic!!
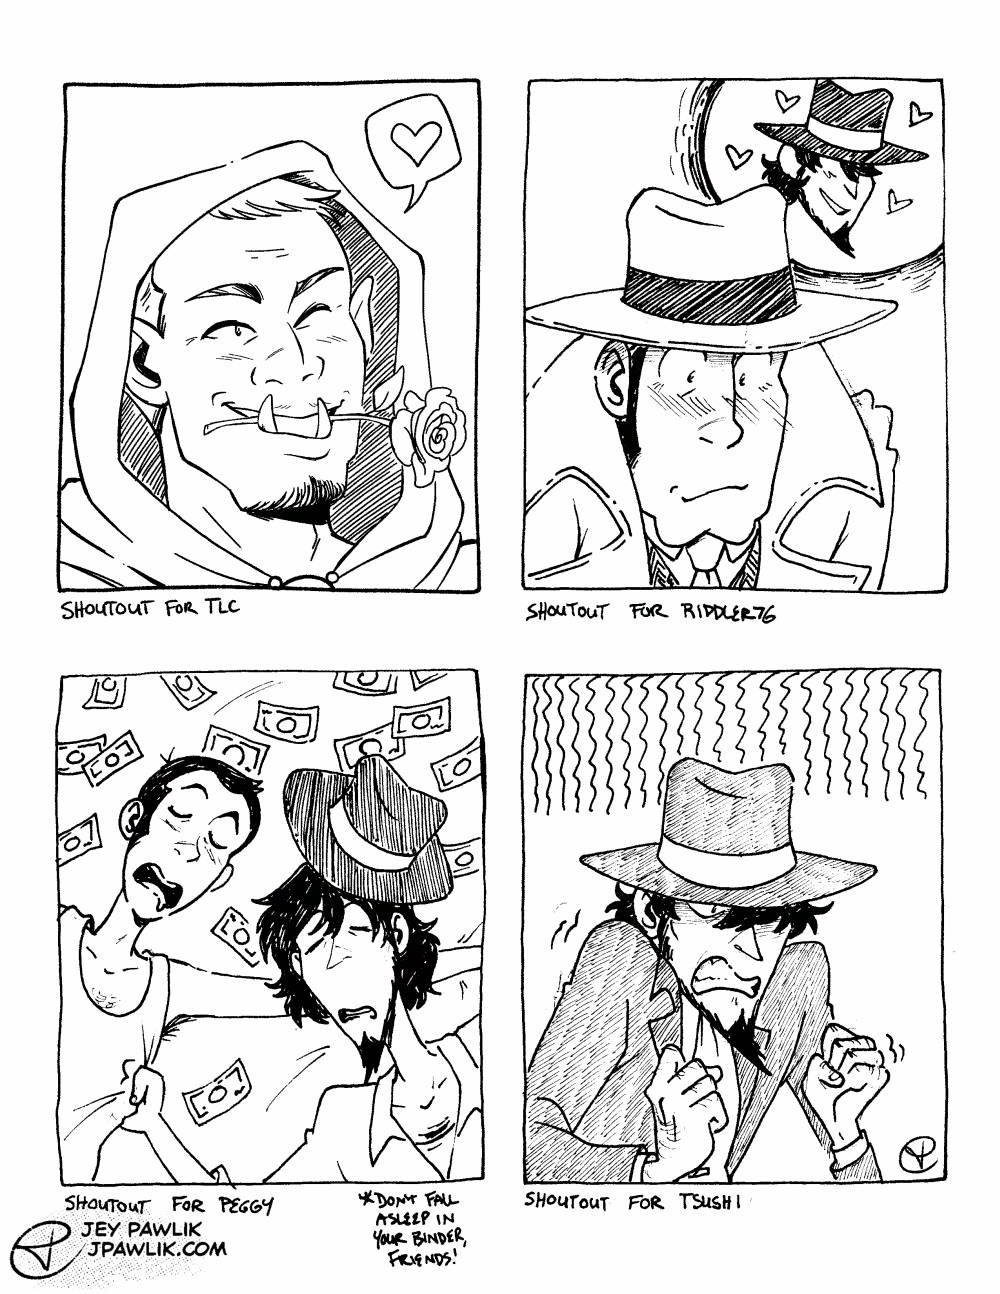
Four more Patron shout requests, with an OC and a bunch of Jigens and ships. I’m so glad everyone likes my Jigen so much!
Hey also it’s the beginning of the month which is the best time to join the Patreon if you’ve been considering it! You get goodies like this, my entire archive of either SFW or NSFW art and comics, and some fun stuff for free members~
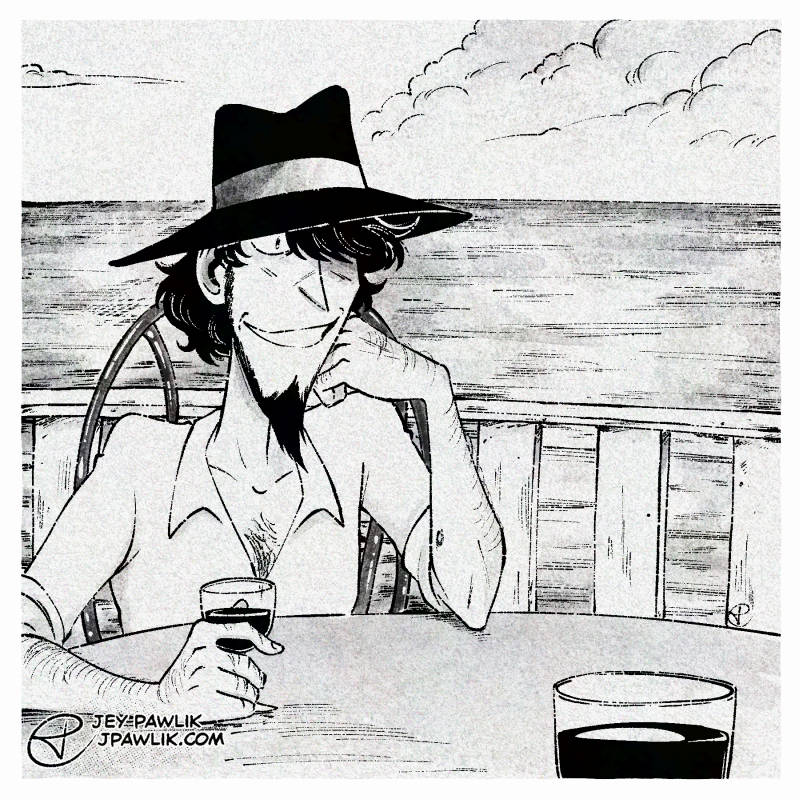
“August 1980, Italy”
A freebie “Treasures of Time” photo for you all on this fine Wednesday. If you’re just joining us, every Wednesday I post a Treasures of Time photo on Patreon and every 10th piece goes up for free. The Patreon versions also all include sketches and thumbs!!
There’s lots of Jigens, as you might have guessed. He’s been so much fun to draw for these candid photos~
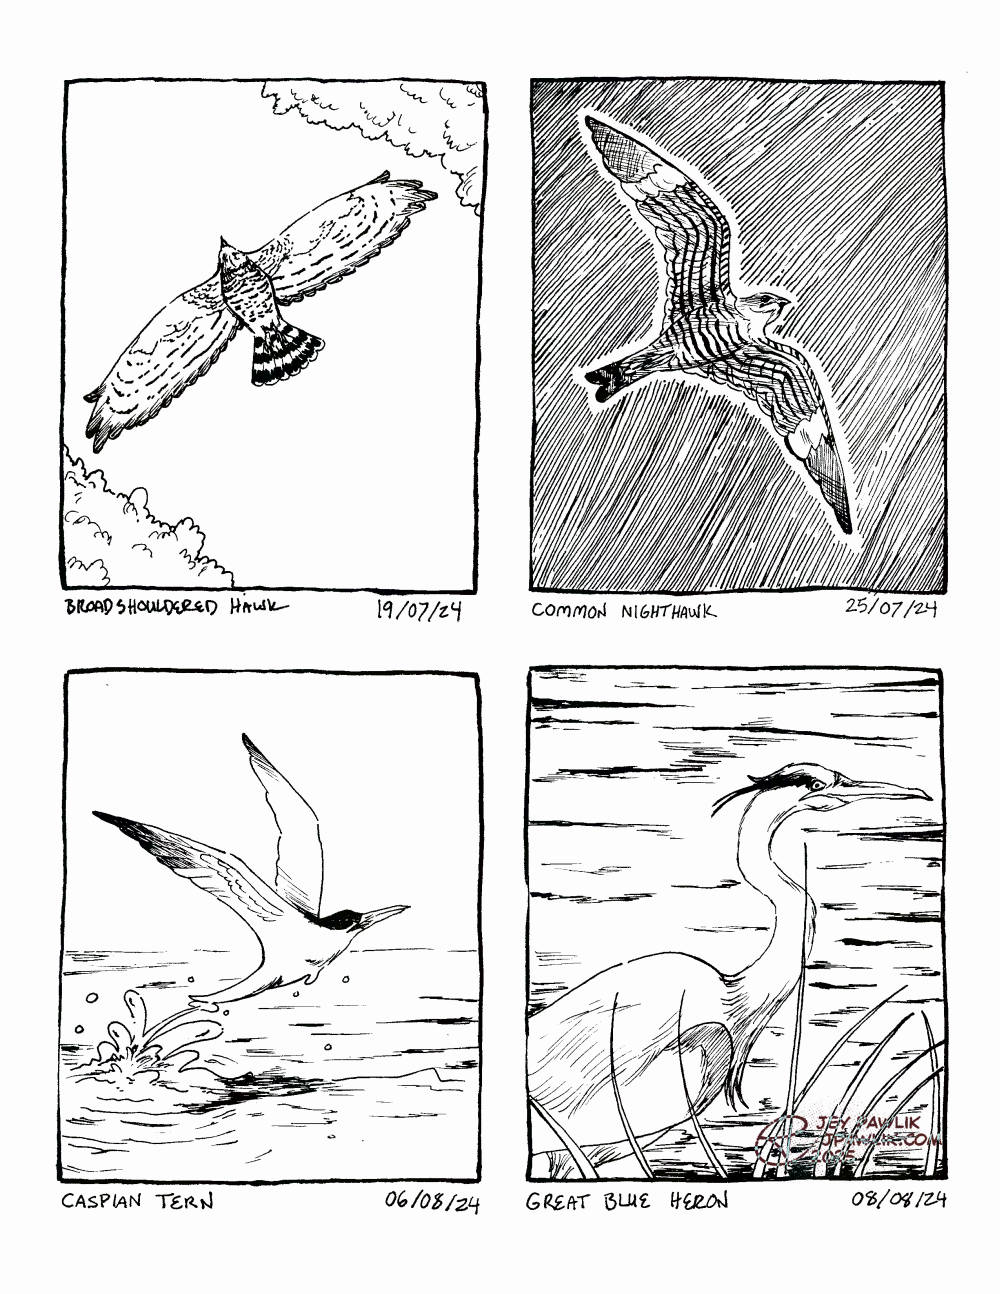
Four summer birds that I’d seen while on my summer vacation. I do love seeing the heron every year!
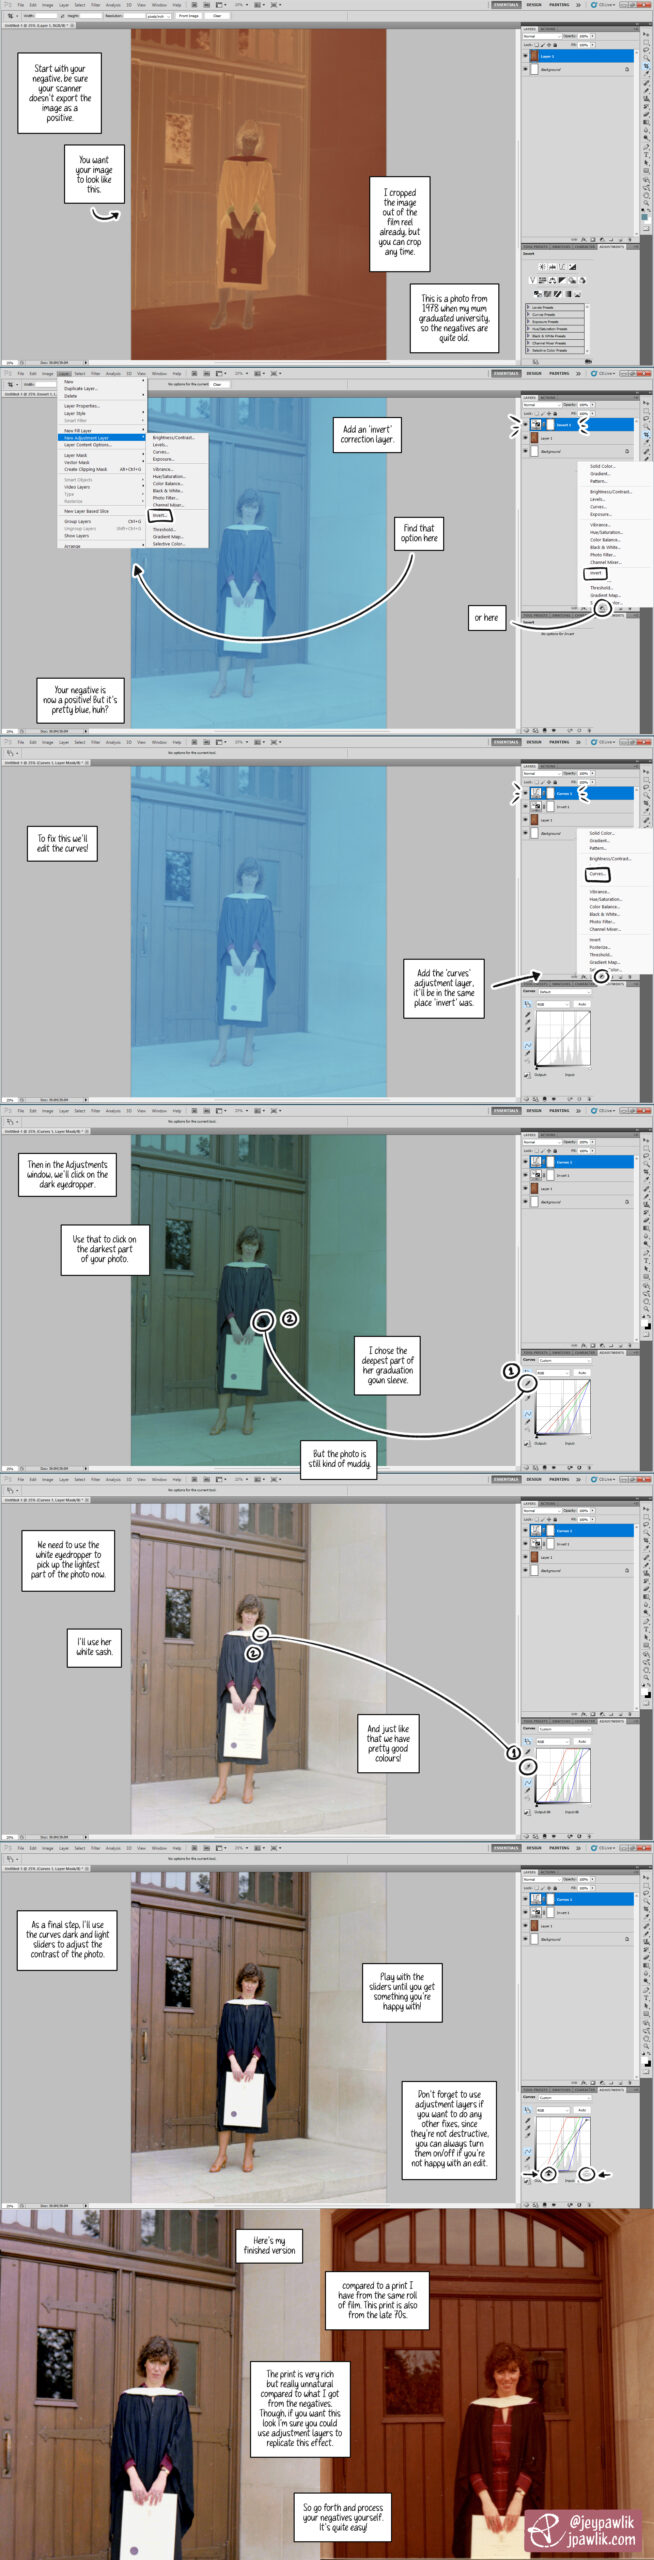
I got back into film around two years ago and I’m still learning a lot. One of the things I really wanted to do was scan my own negatives. This gives me more control over my images and it’s cheaper in the long run.
So I ended up making this tutorial for myself a while back to help me remember the steps of the process. In this tutorial I used an old photo of my mum from the 70s at her university graduation. It was a good negative to test because: at the time I was waiting for my lab to finish developing my first roll of my own film, I wanted to try processing a negative to make sure I could do it myself (and if I couldn’t, I’d ask my lab to continue doing it for me), I have prints from these negatives that I can compare with.
I’m using Photoshop CS5 for this tutorial.

Sometimes you can’t help but make a mascot character!
While I don’t know what I’d like to do with Bean, they are quite fun to doodle every now and then.
I’d even made a sticker of them years ago that’s still available