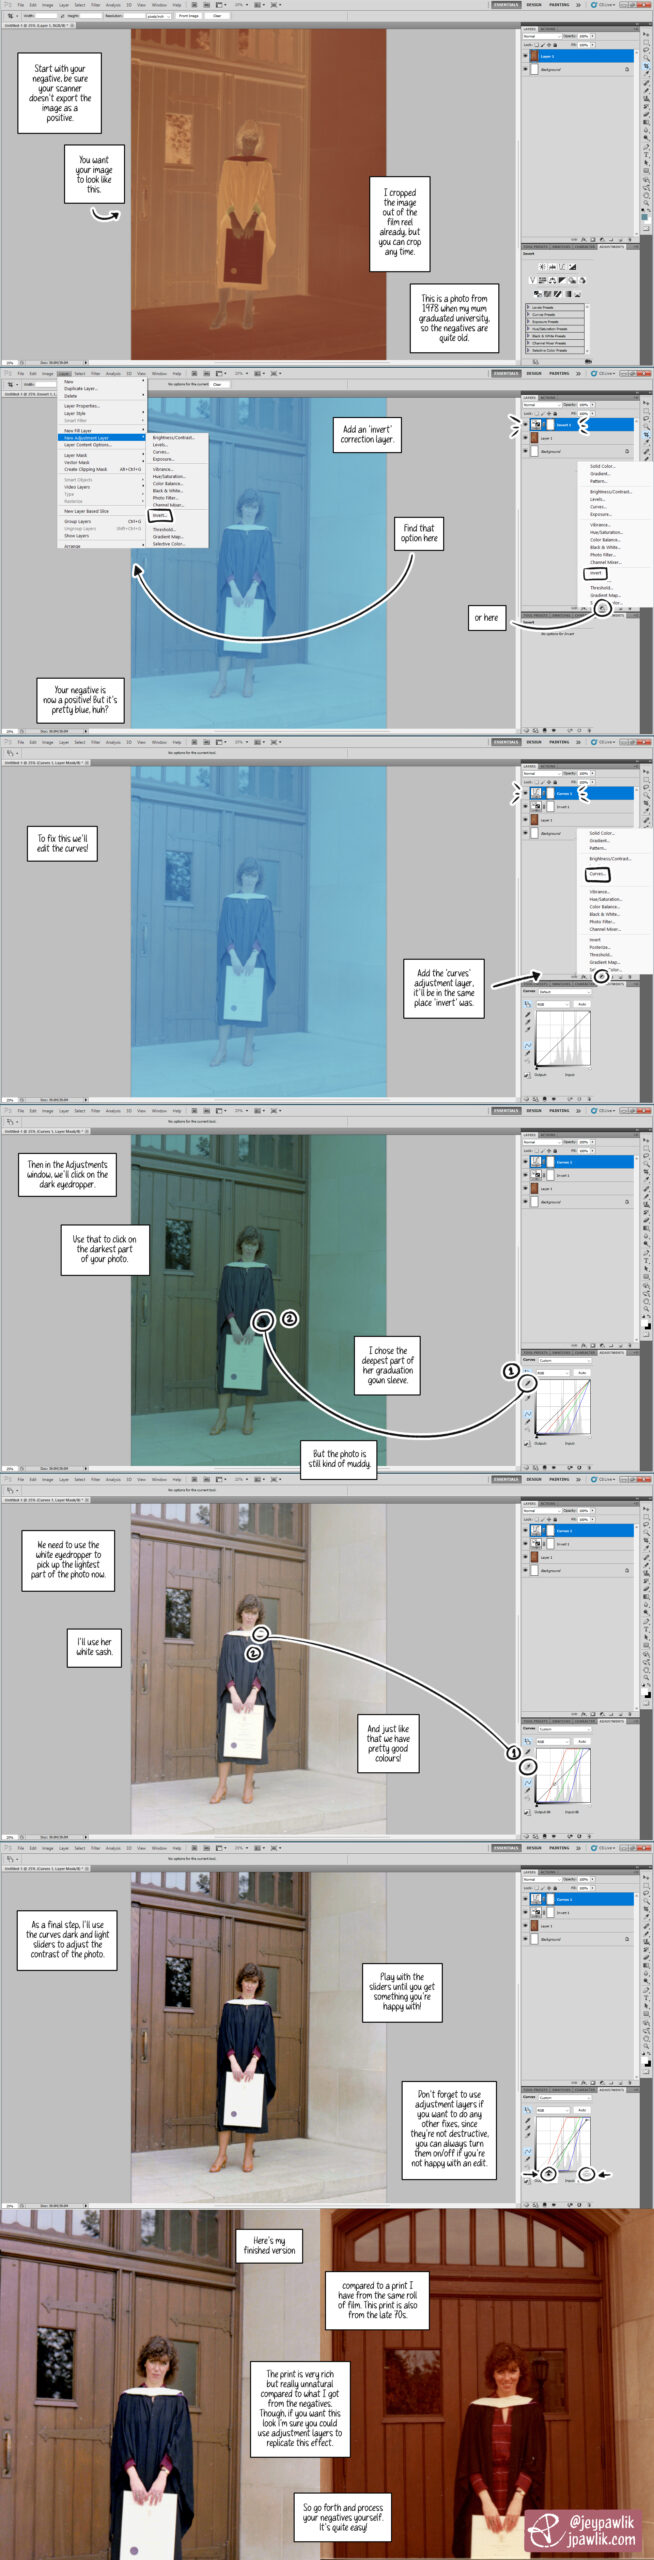
I got back into film around two years ago and I’m still learning a lot. One of the things I really wanted to do was scan my own negatives. This gives me more control over my images and it’s cheaper in the long run.
So I ended up making this tutorial for myself a while back to help me remember the steps of the process. In this tutorial I used an old photo of my mum from the 70s at her university graduation. It was a good negative to test because: at the time I was waiting for my lab to finish developing my first roll of my own film, I wanted to try processing a negative to make sure I could do it myself (and if I couldn’t, I’d ask my lab to continue doing it for me), I have prints from these negatives that I can compare with.
I’m using Photoshop CS5 for this tutorial.
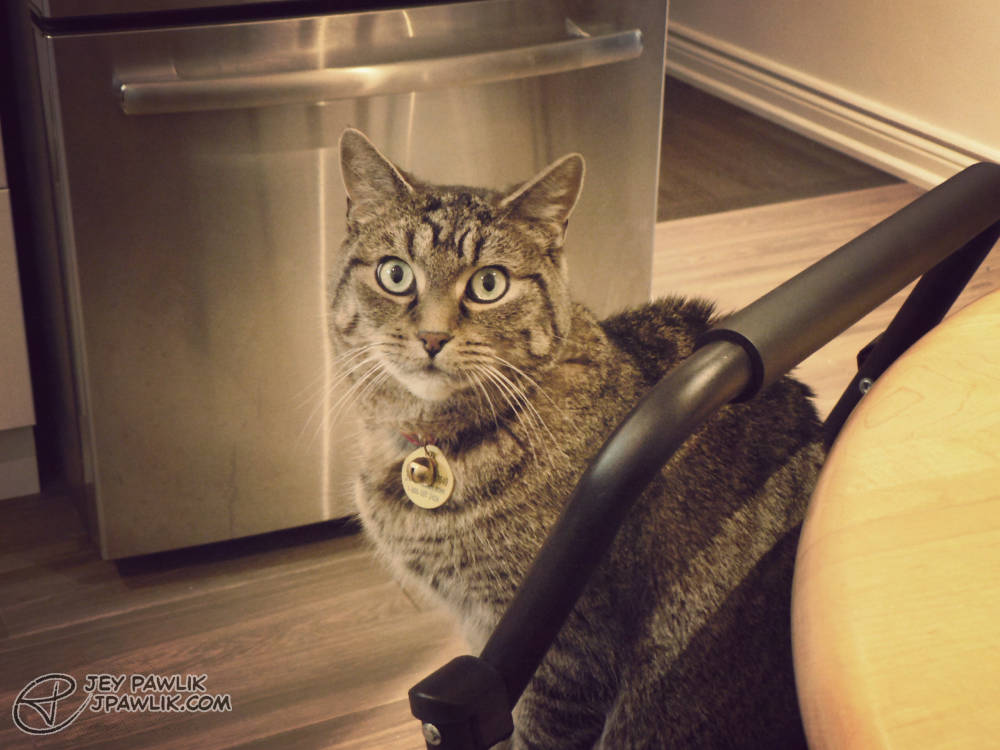
Some more digital photos on my Lumix, which I really love using. I’ll admit, I did edit these back in 2023 and I’m unsure what I think of the editing now but I really stopped editing photos after this and only now in 2025 am I trying my hand at it again. It’s my least favourite part of photography!
Panasonic Lumix DMC-FZ5, Edited in Photoshop
November 2023, Toronto


In 2023 I inherited my mother-in-law’s old mini DSLR, gave it a real good clean and replaced the swollen battery. Since then I’ve been having a real fun time with it! It’s so small and easy to pop in my bag and the zoom on this lil’ guy is so incredibly good.
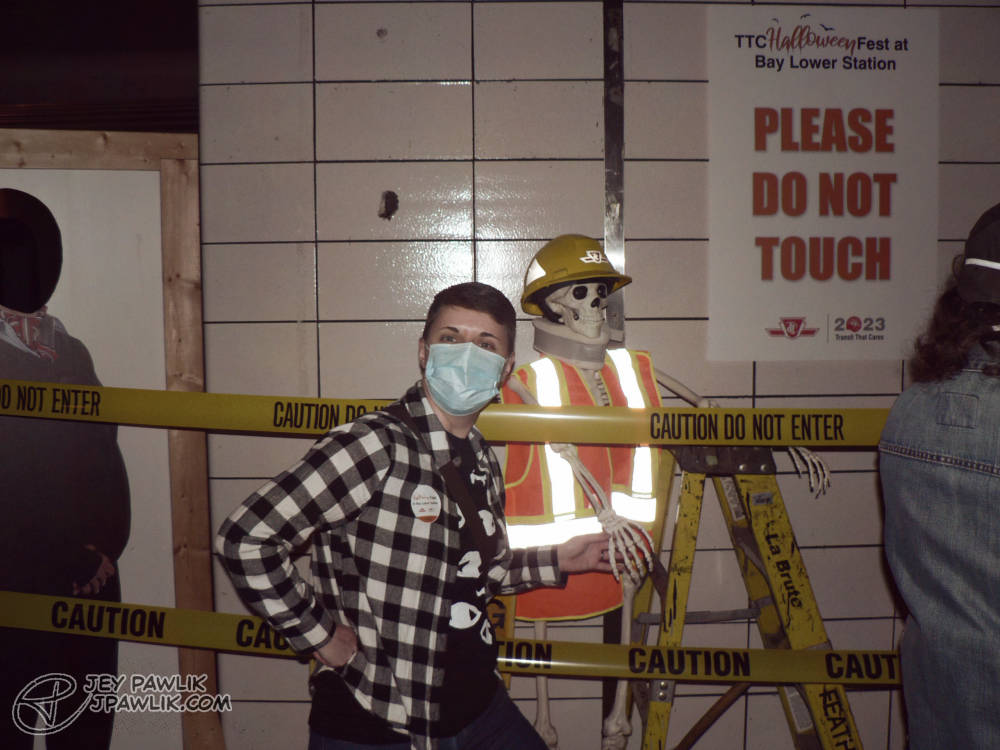
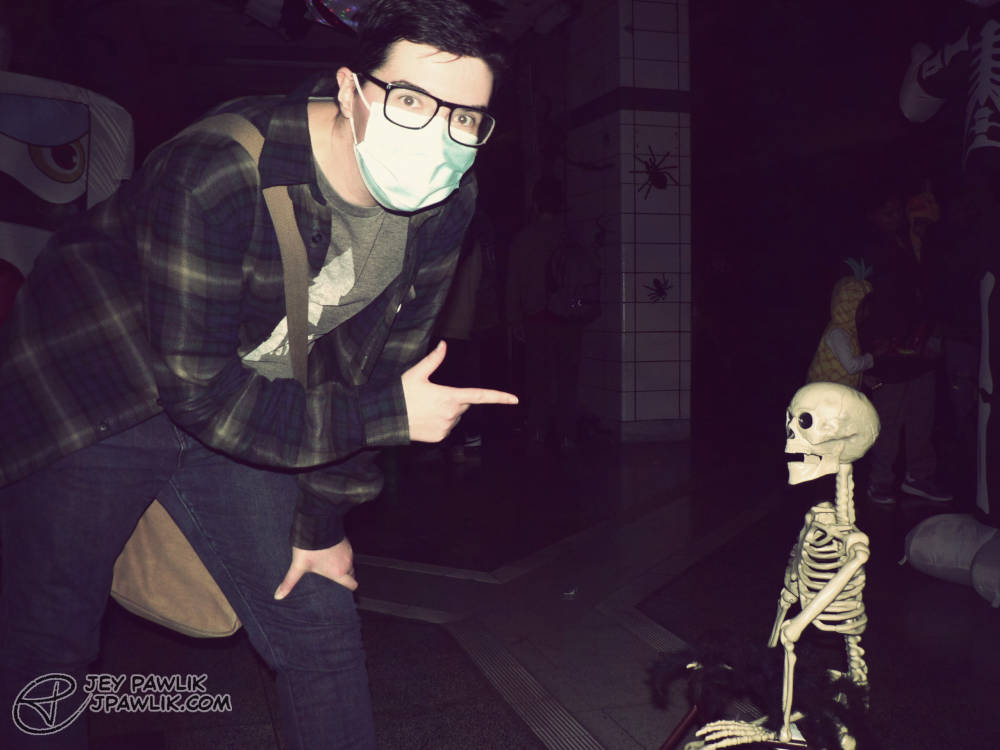
These photos were my first foray back into photo editing. I haven’t done any proper photography since college (2008-2012) so go easy on me. I’m still re-learning how to do it.
Panasonic Lumix DMC-FZ5, Edited in Photoshop
October 2023, Toronto

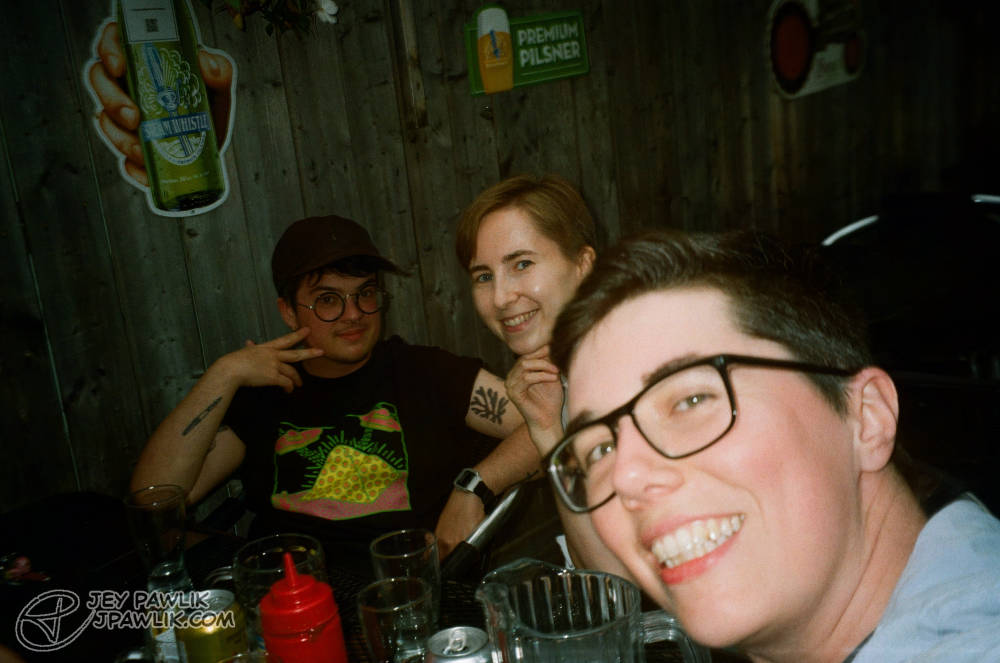

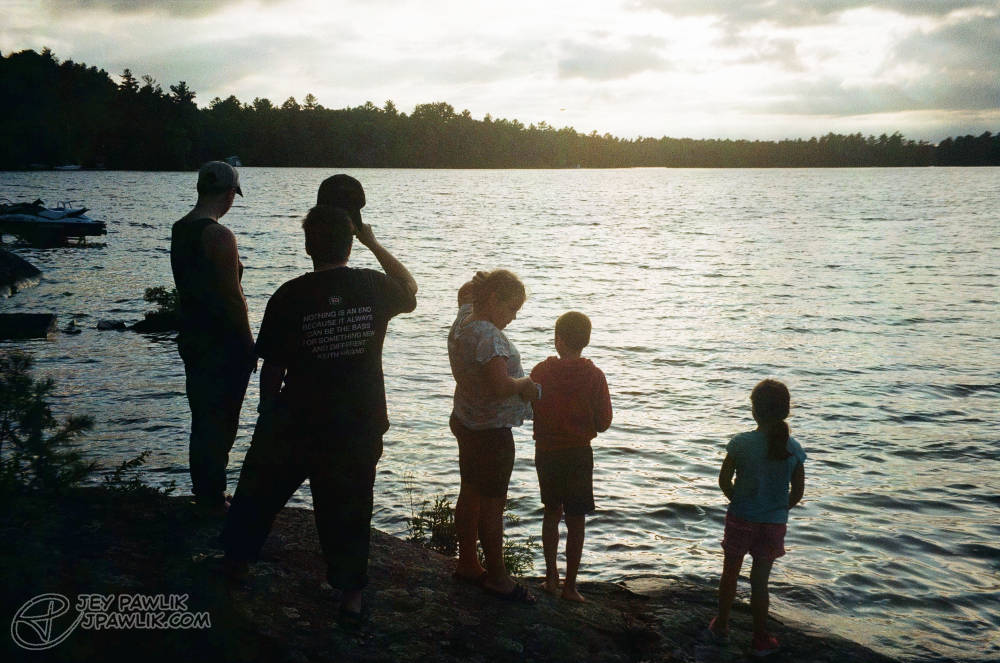
That concludes my borrowing of Amiel’s Samsung Slim Zoom camera for the 2023 summer and mine and Max’s first mini honeymoon after our wedding!
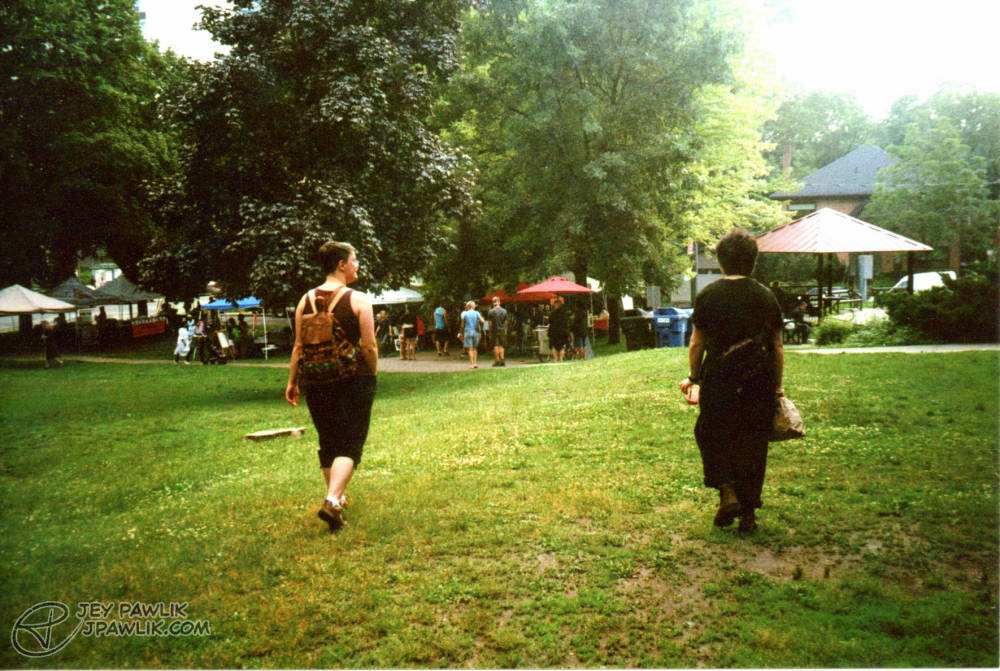
Samsung Slim Zoom, Fujifilm 400
August 2023, Georgian Bay & Toronto
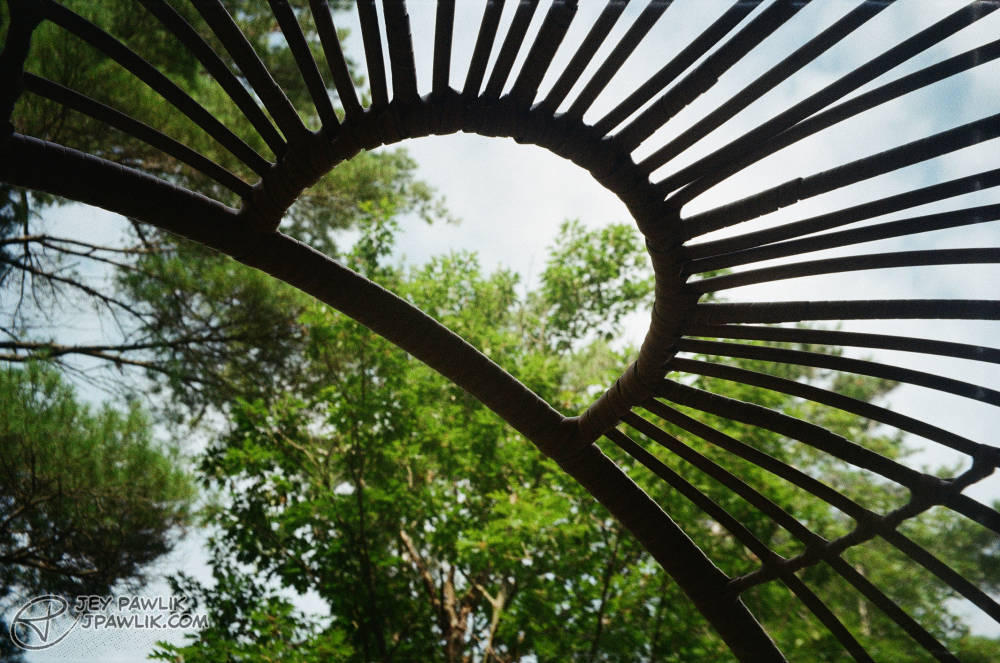
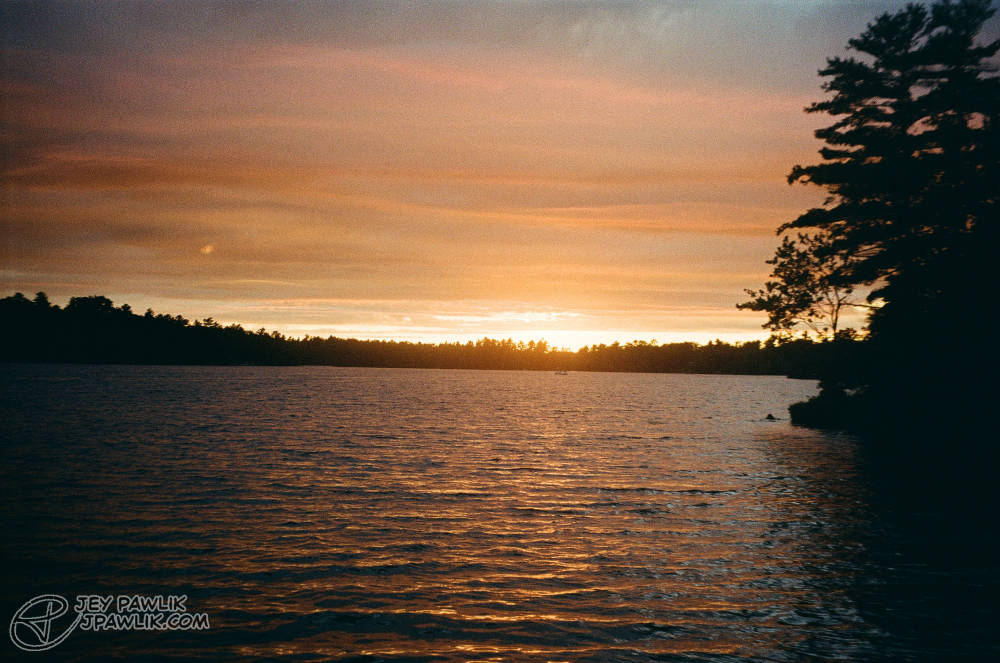
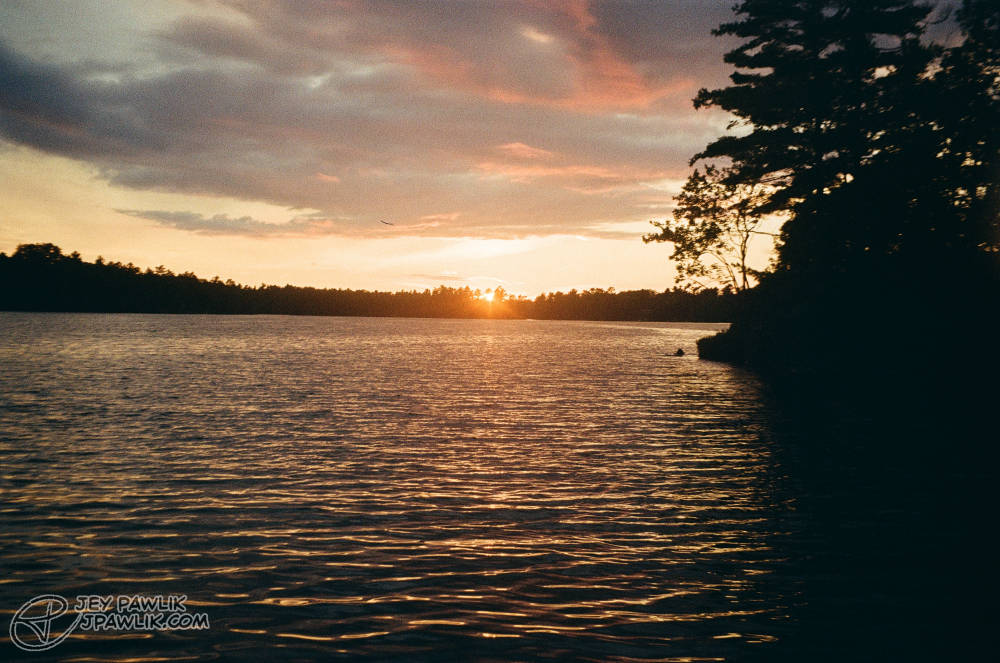

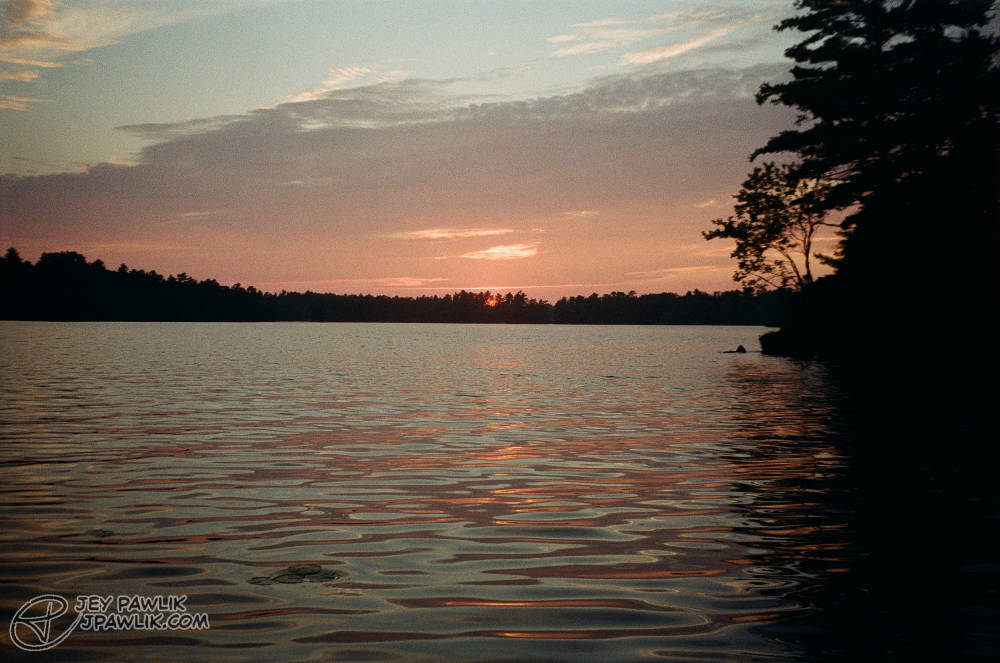
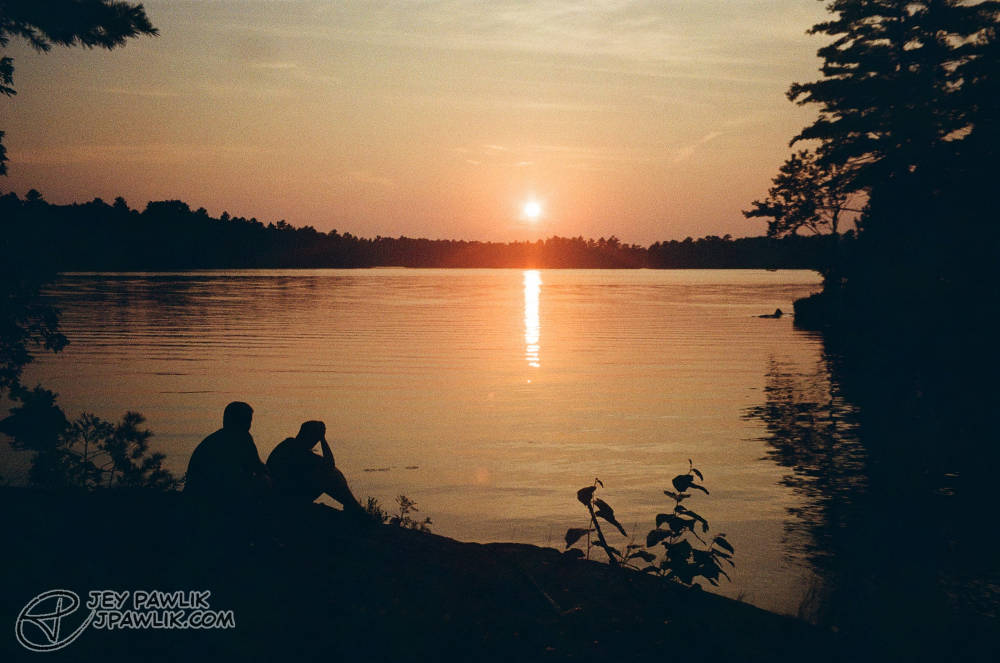
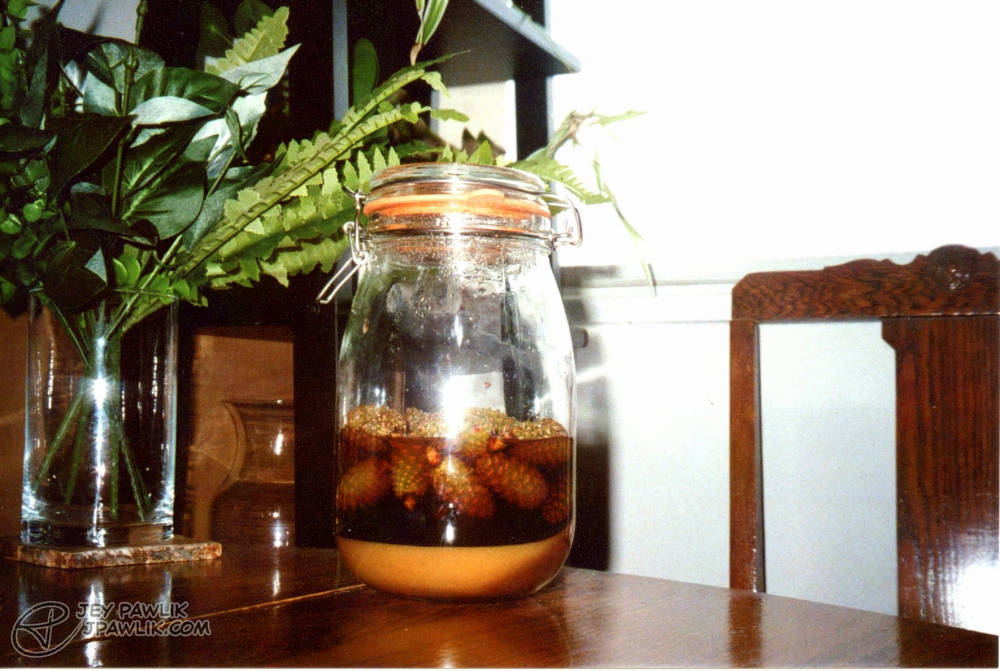
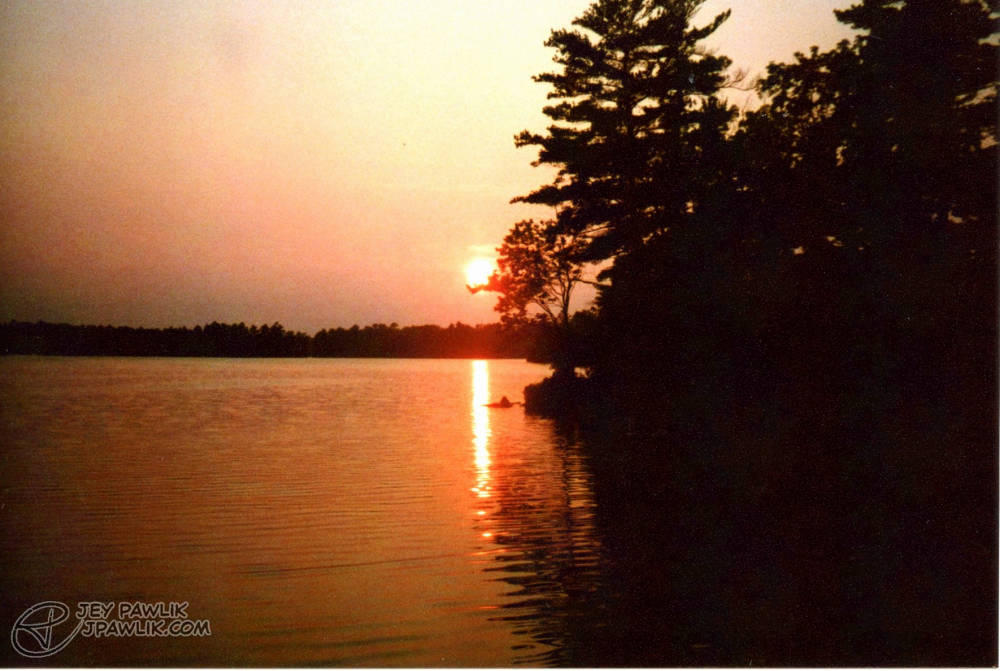
More summer sunsets, creatures and me figuring out what the Bulb function does on a film camera!
Samsung Slim Zoom, Fujifilm 400
August 2023, Georgian Bay
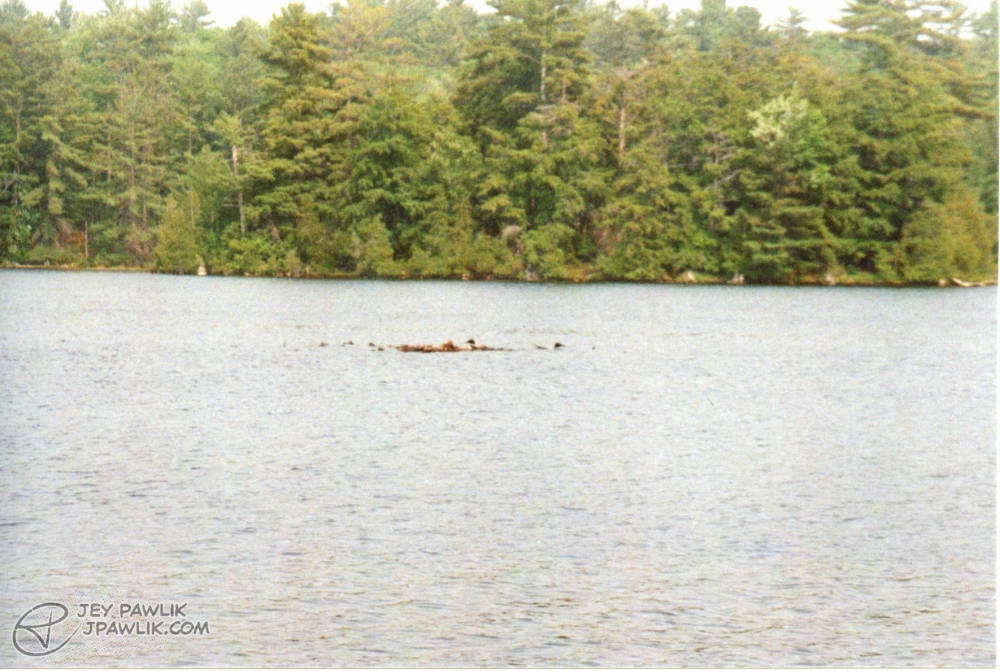
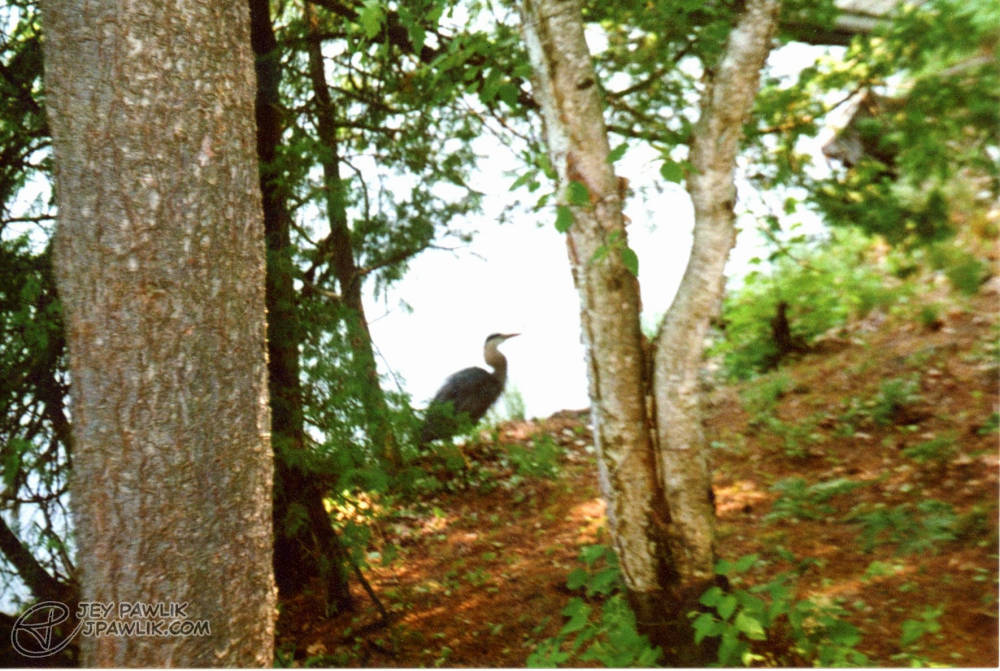
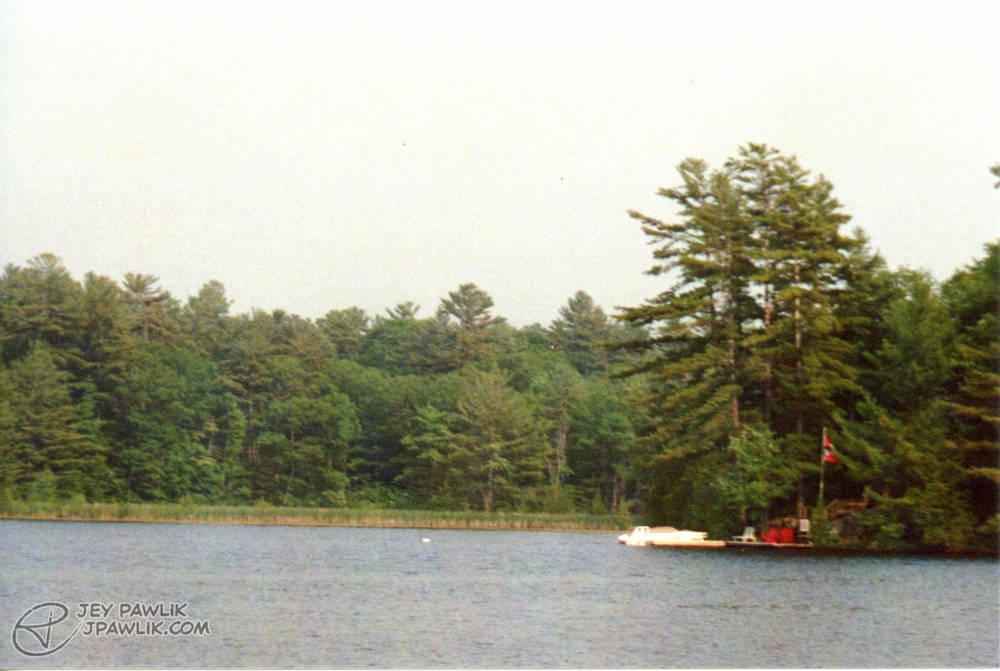
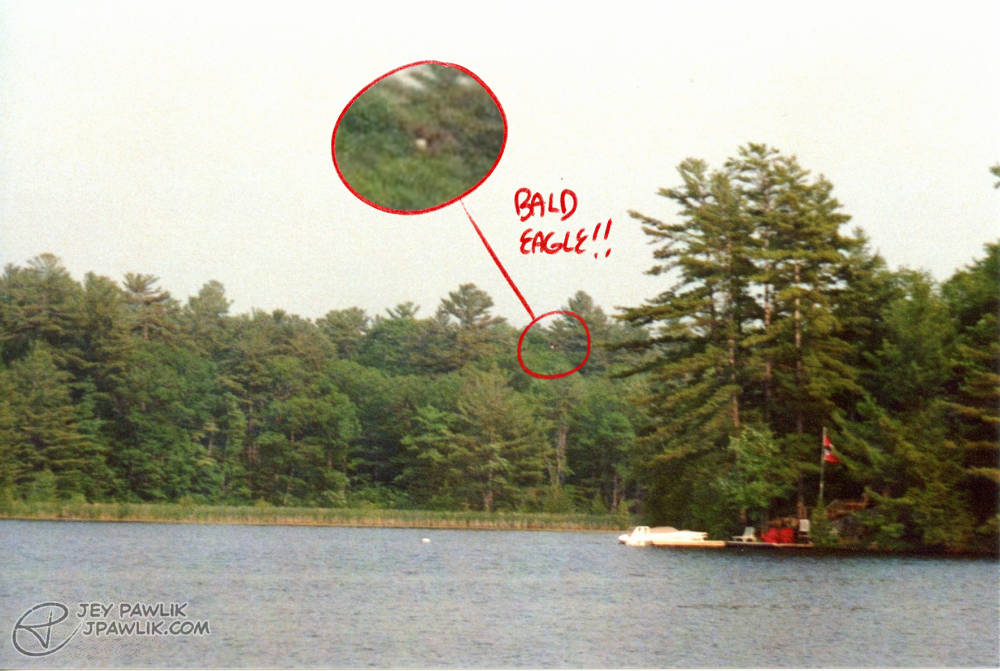
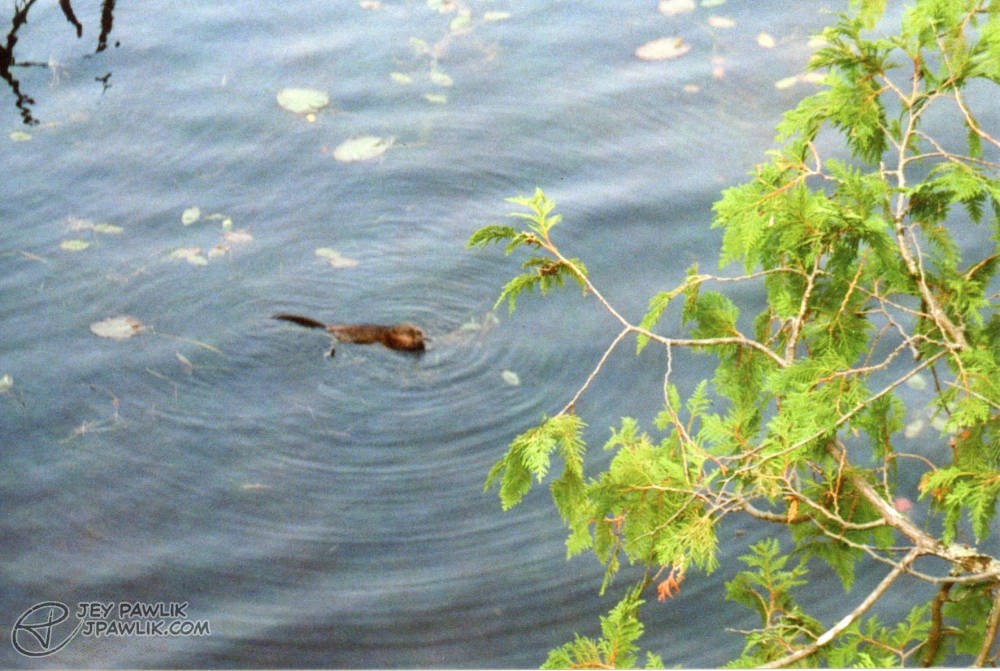
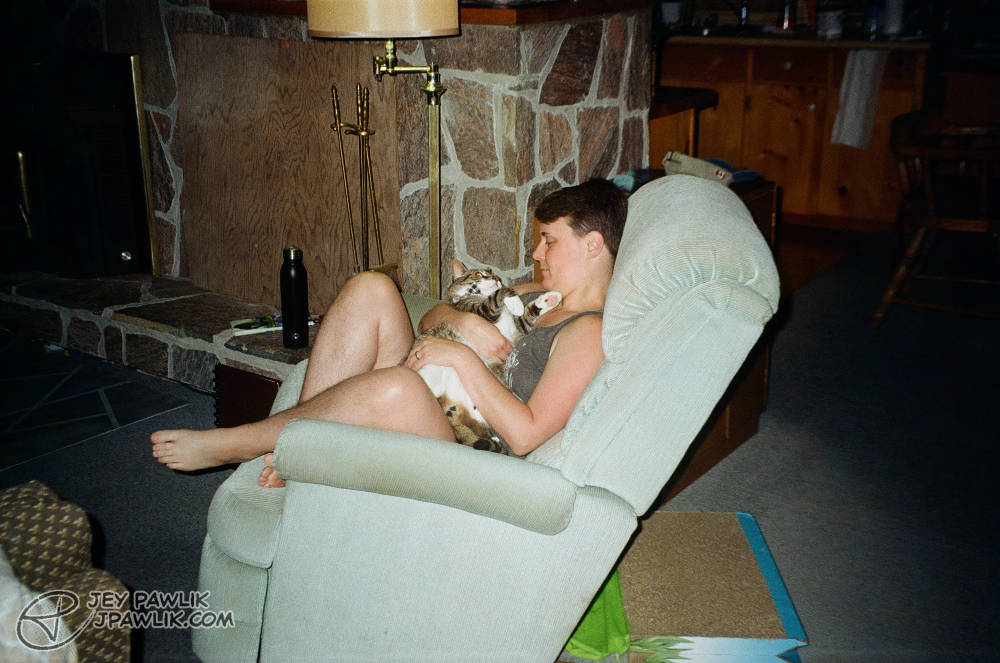
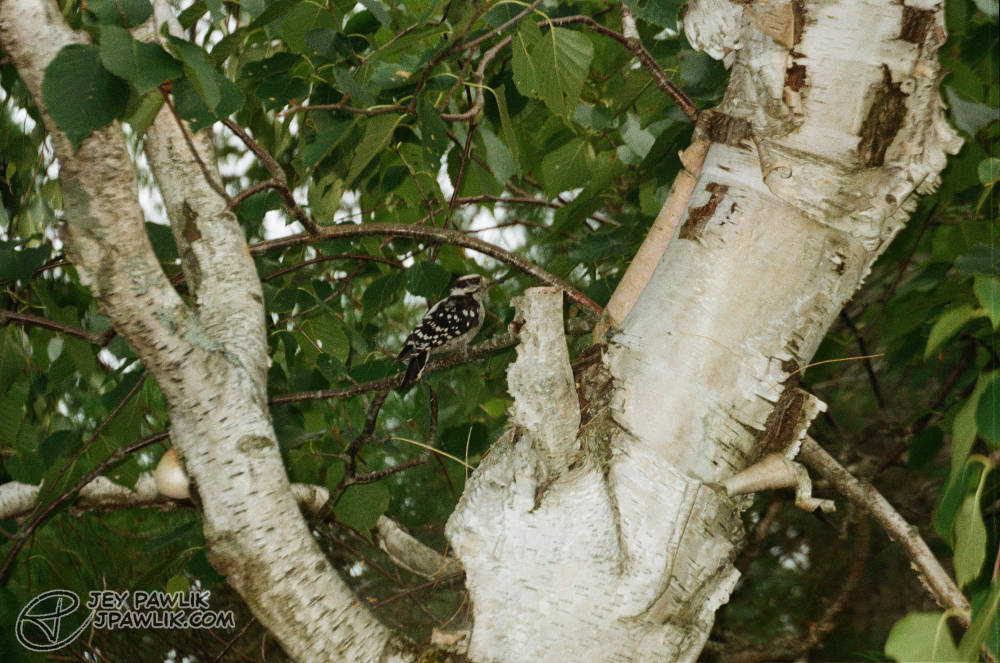
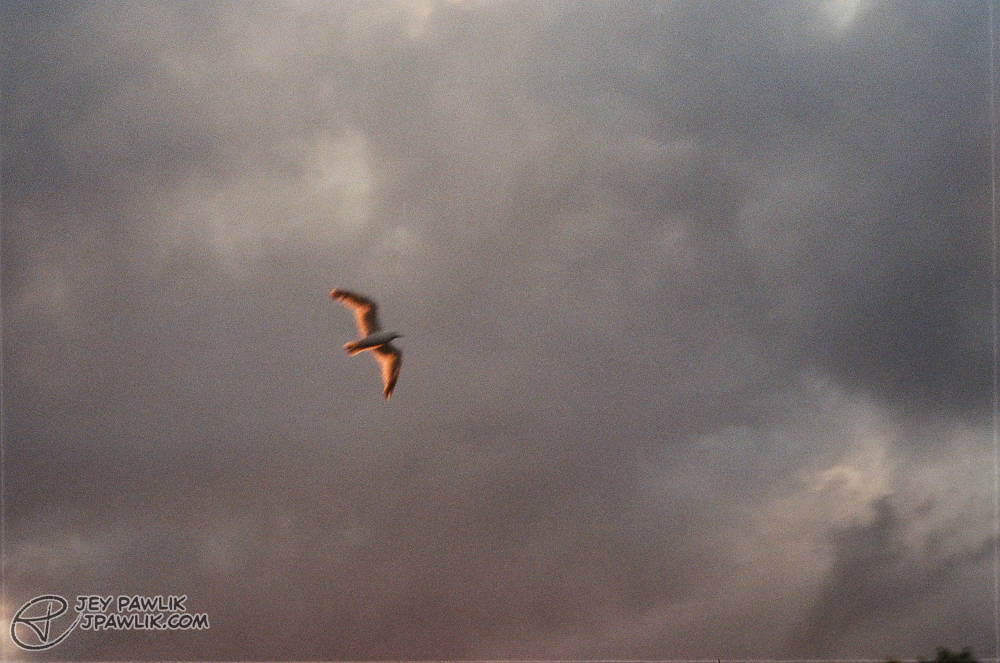
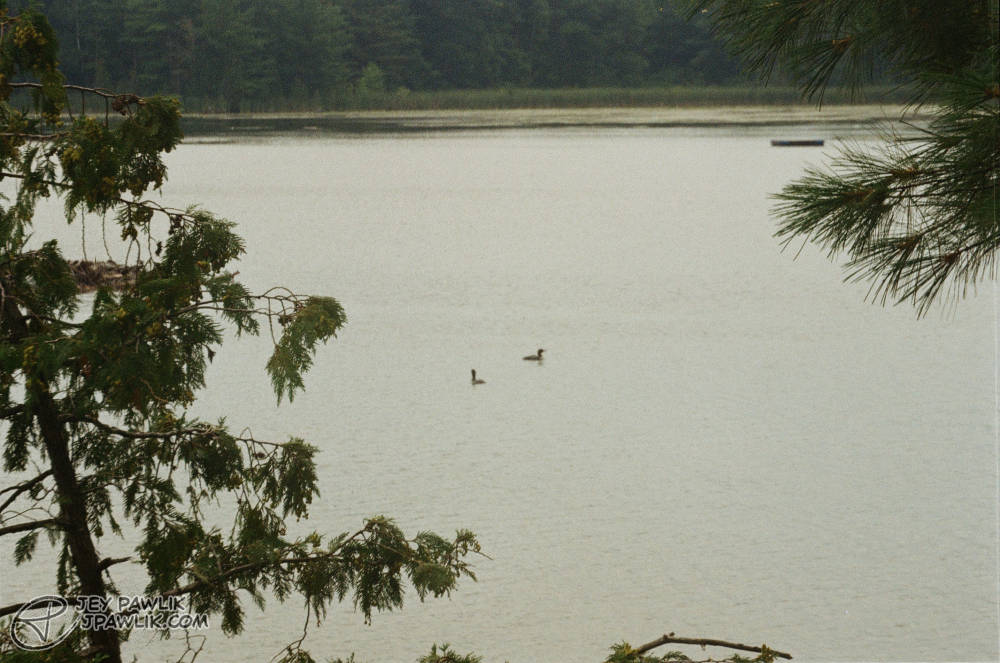
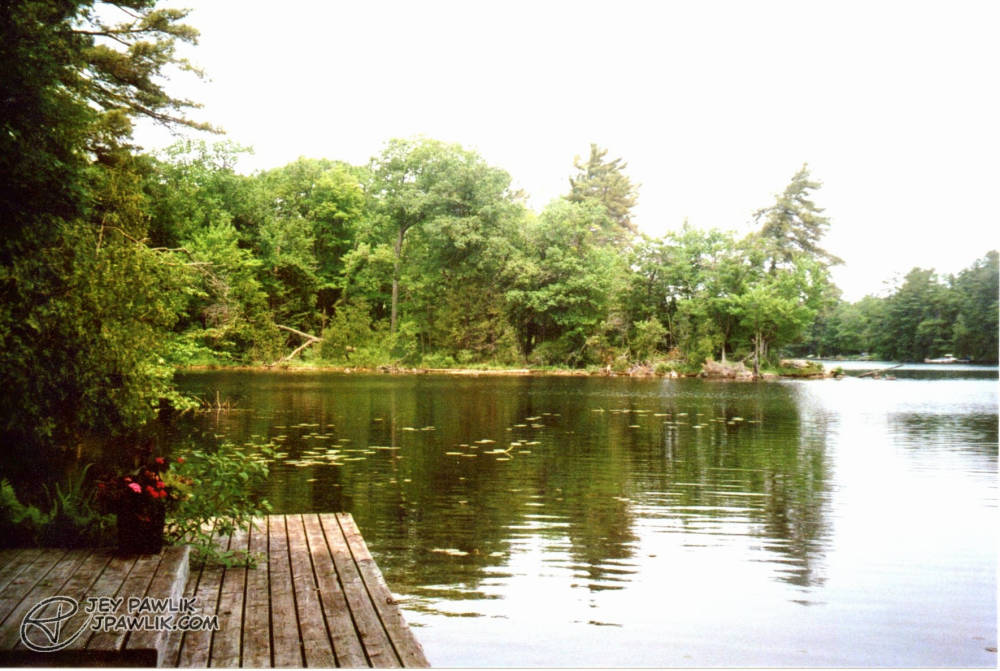
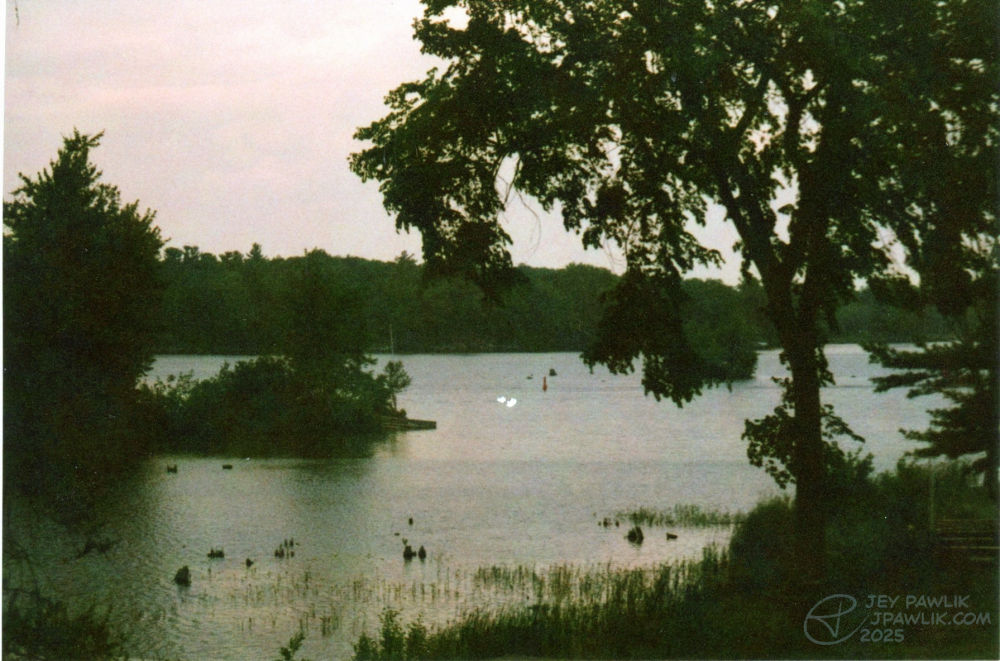
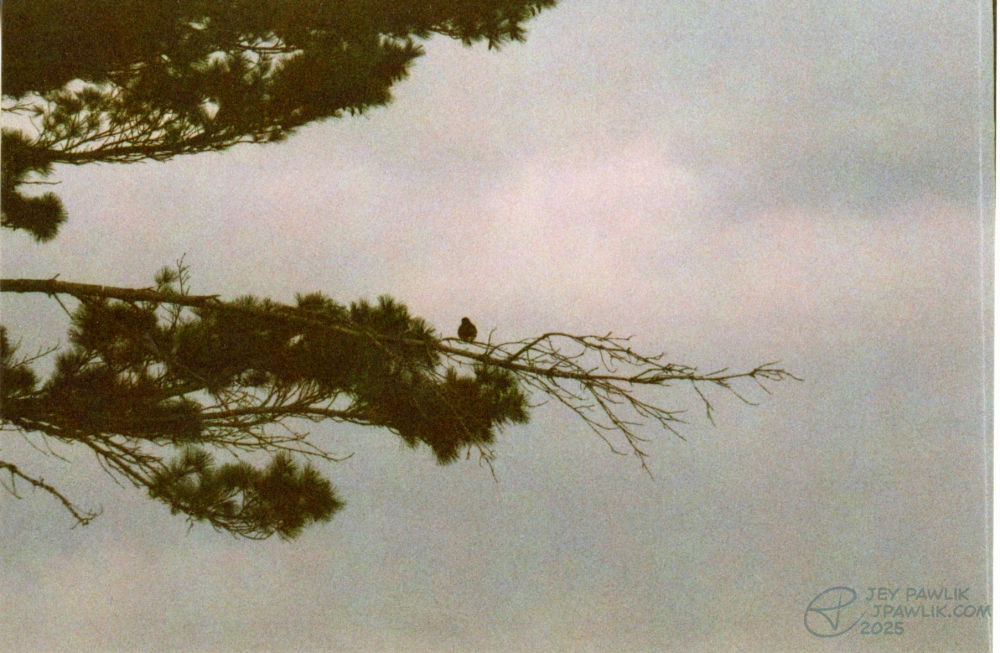
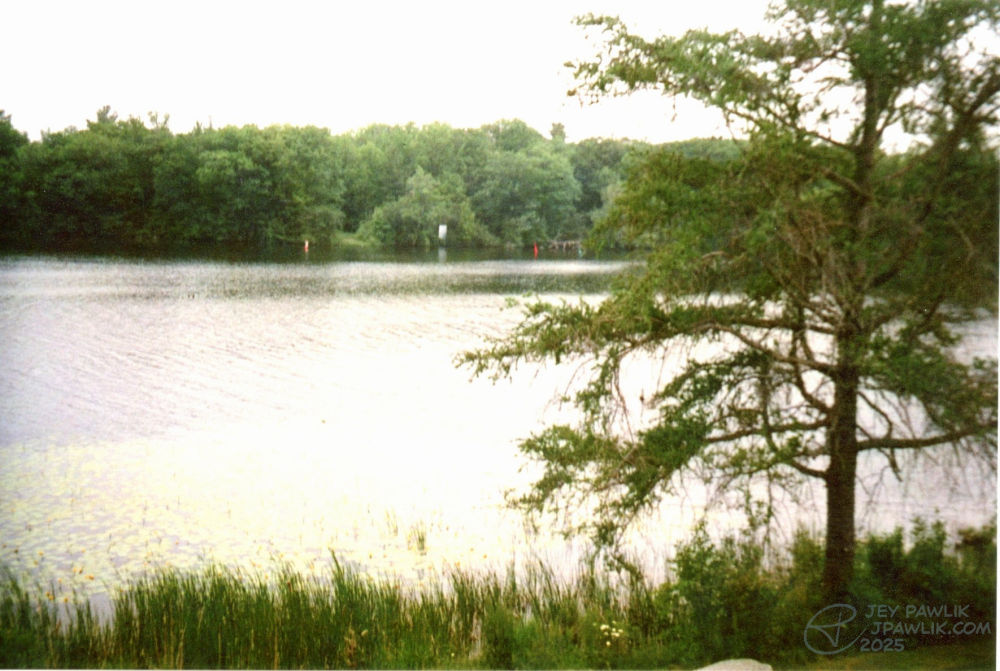
Some more cottage life photography with a bunch of creatures we spotted like the heron, bald eagle, loons and muskrat!
Samsung Slim Zoom, Fujifilm 400
August 2023, Georgian Bay
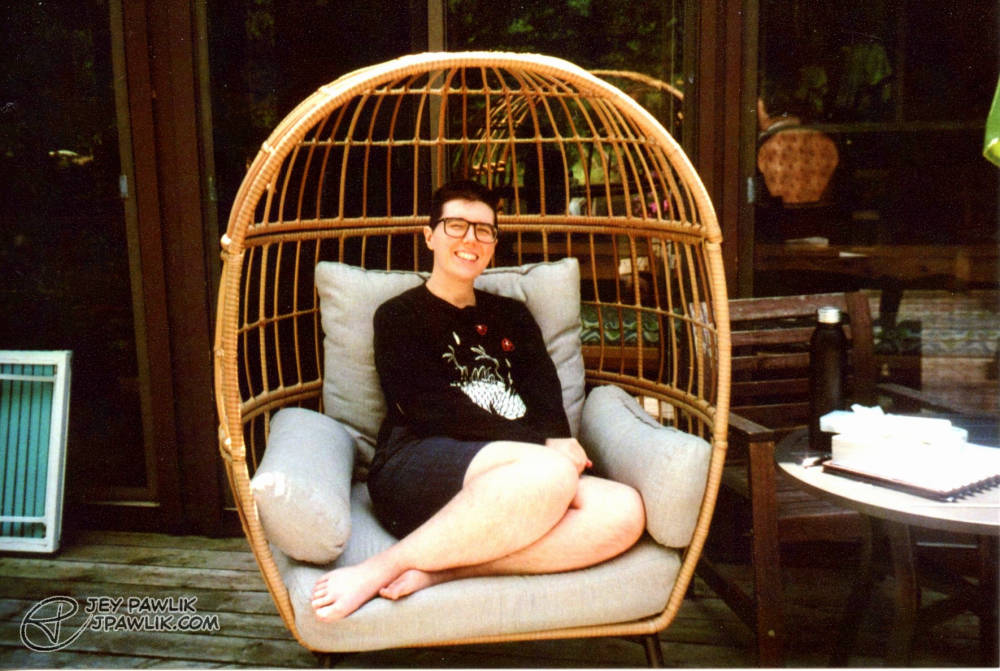
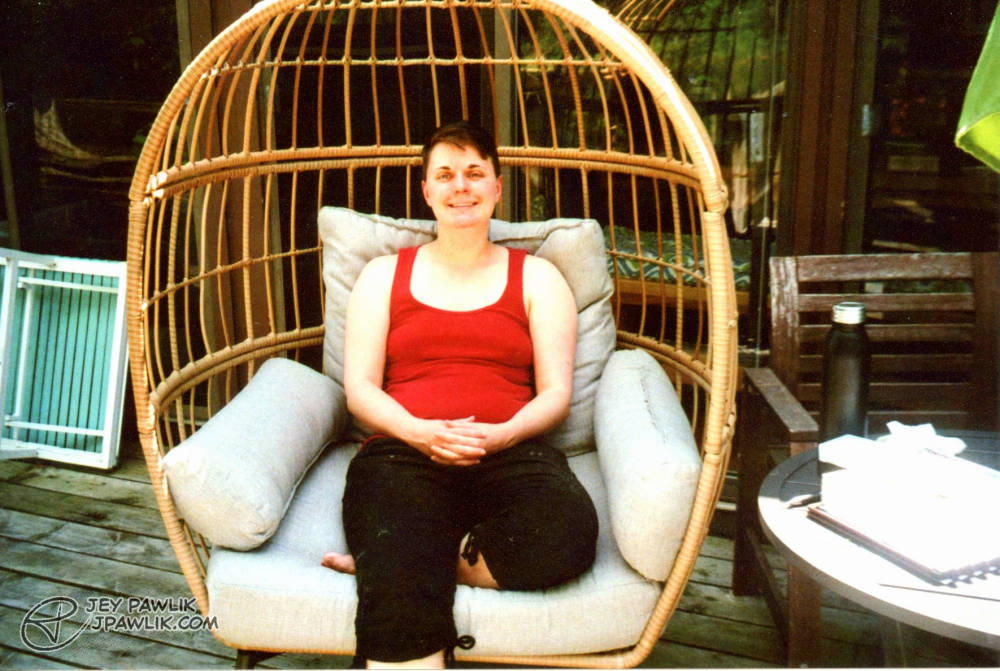
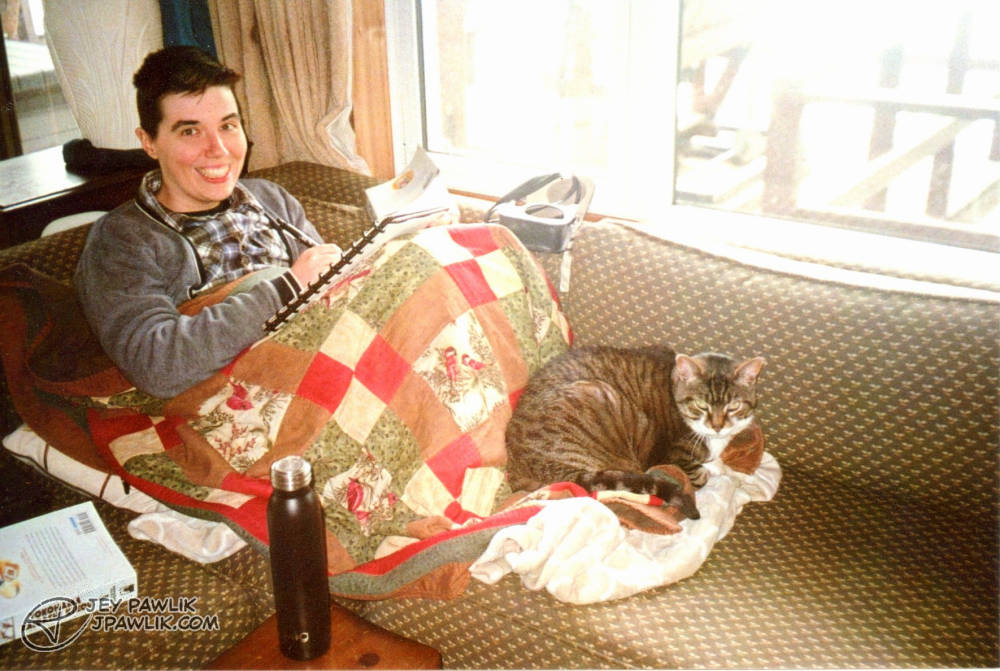


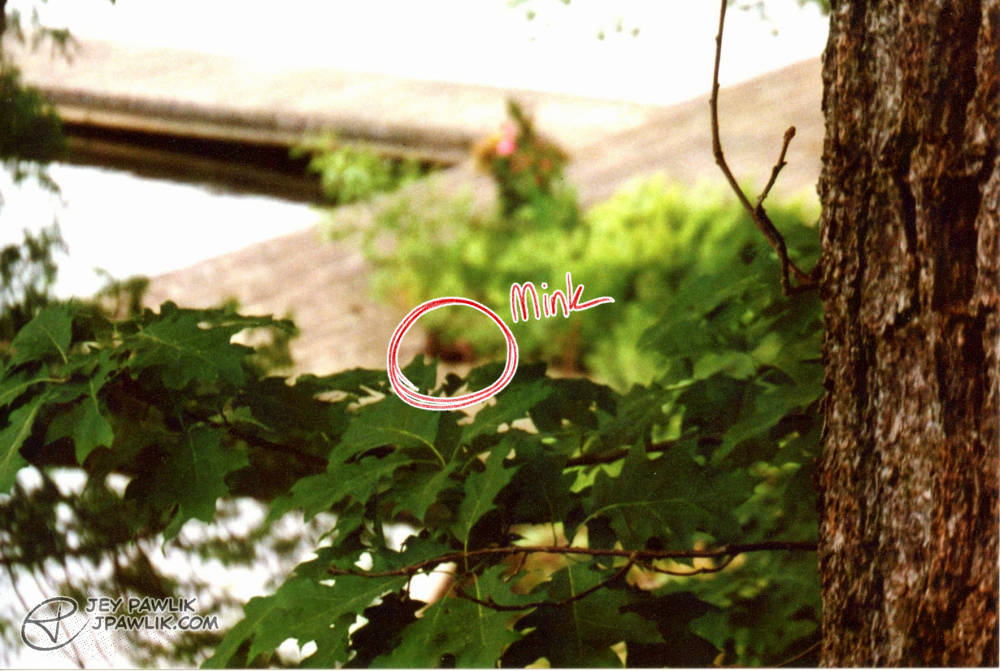
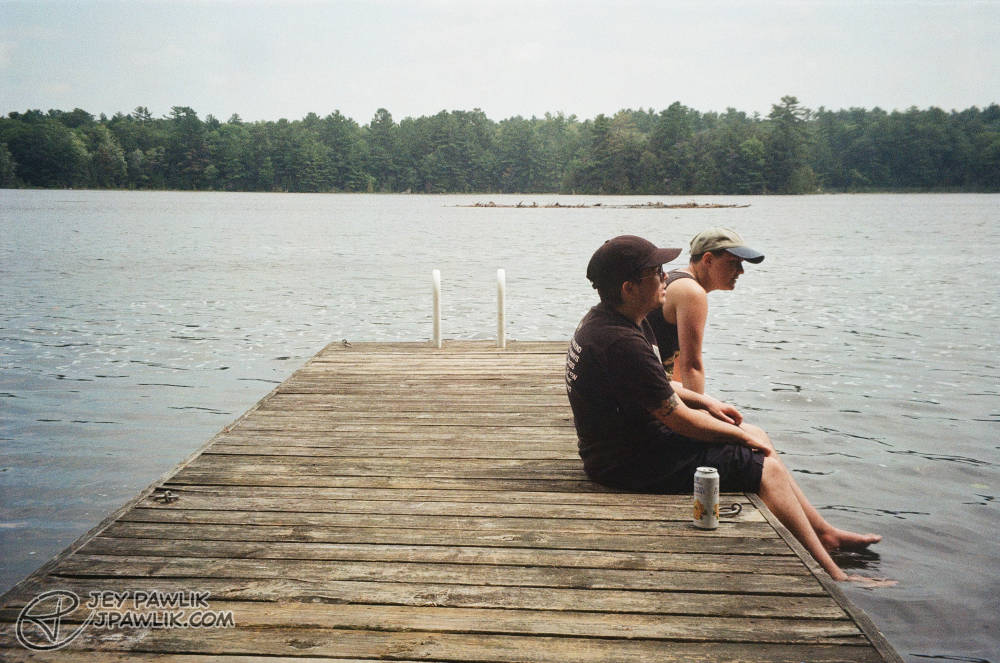
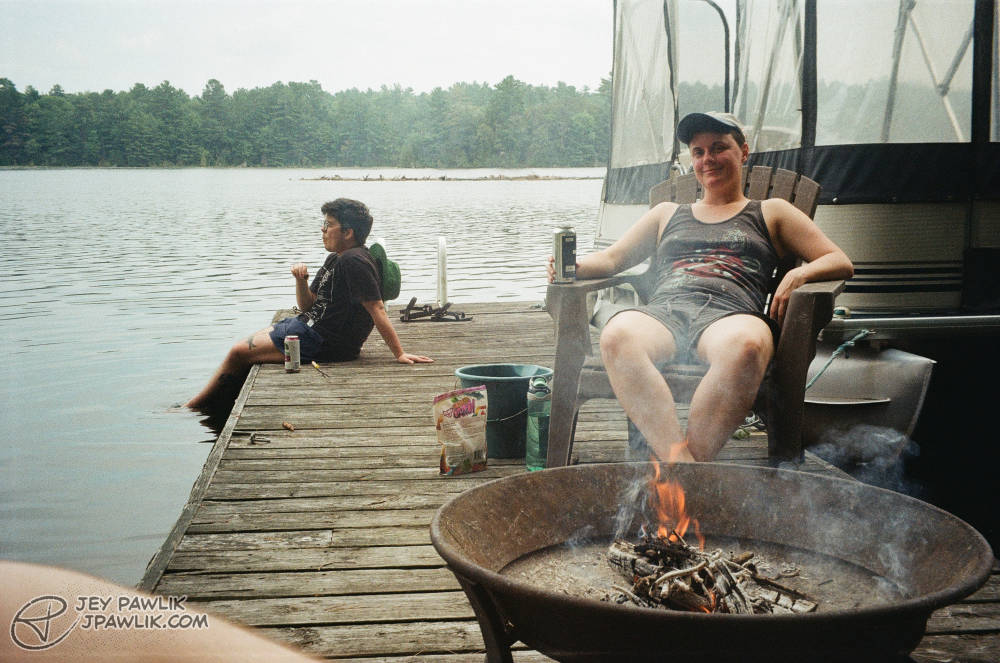
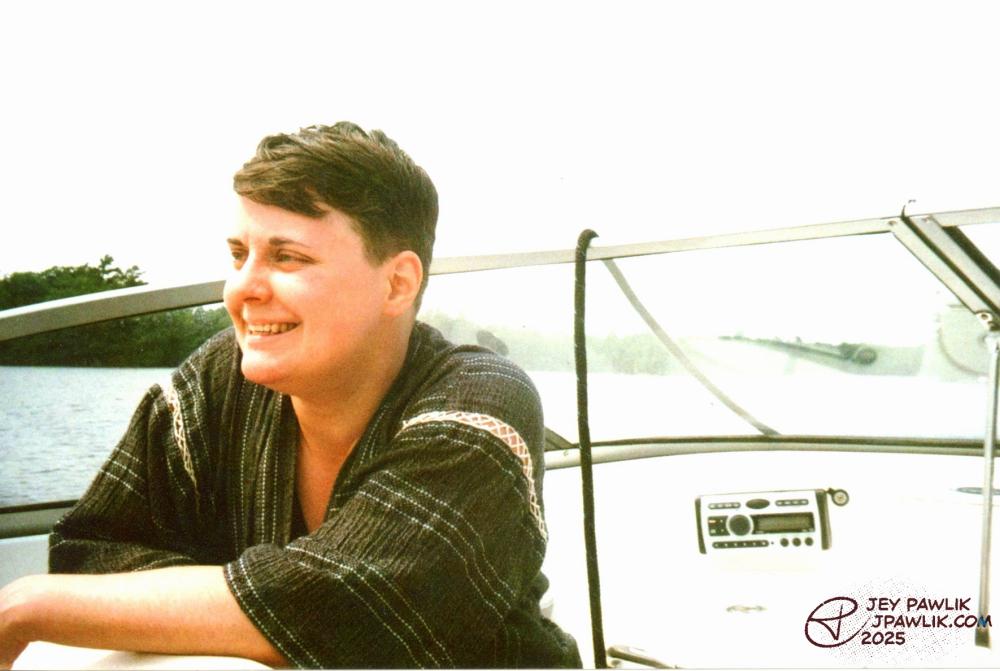
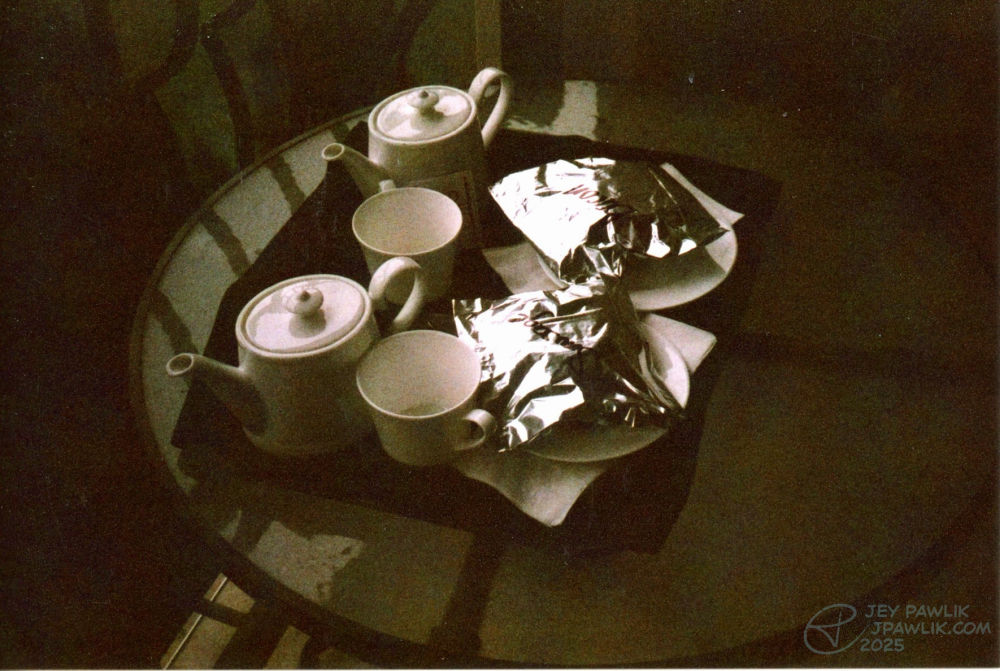
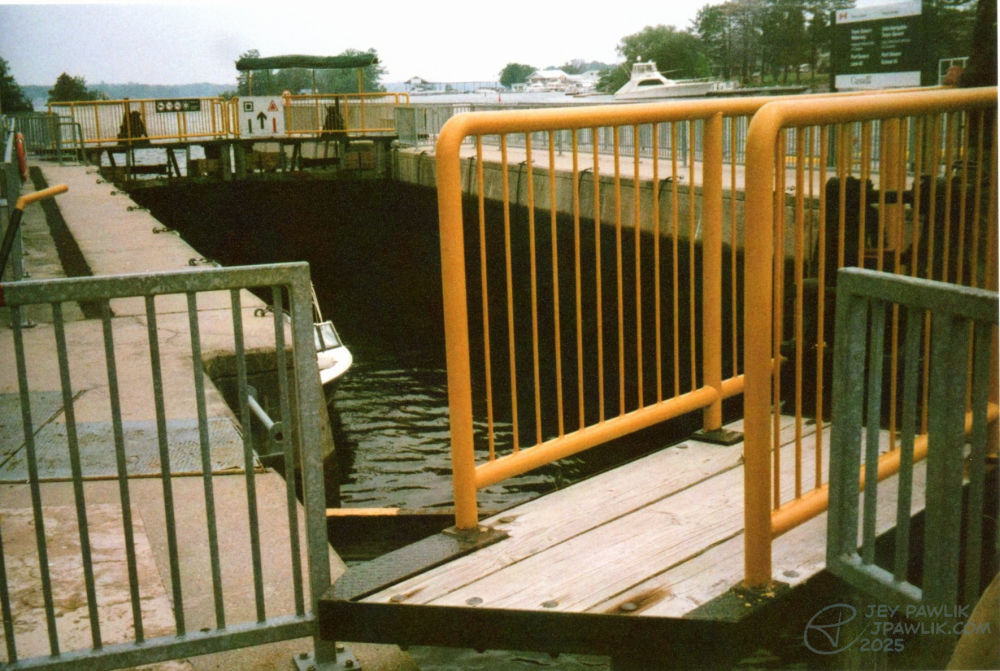
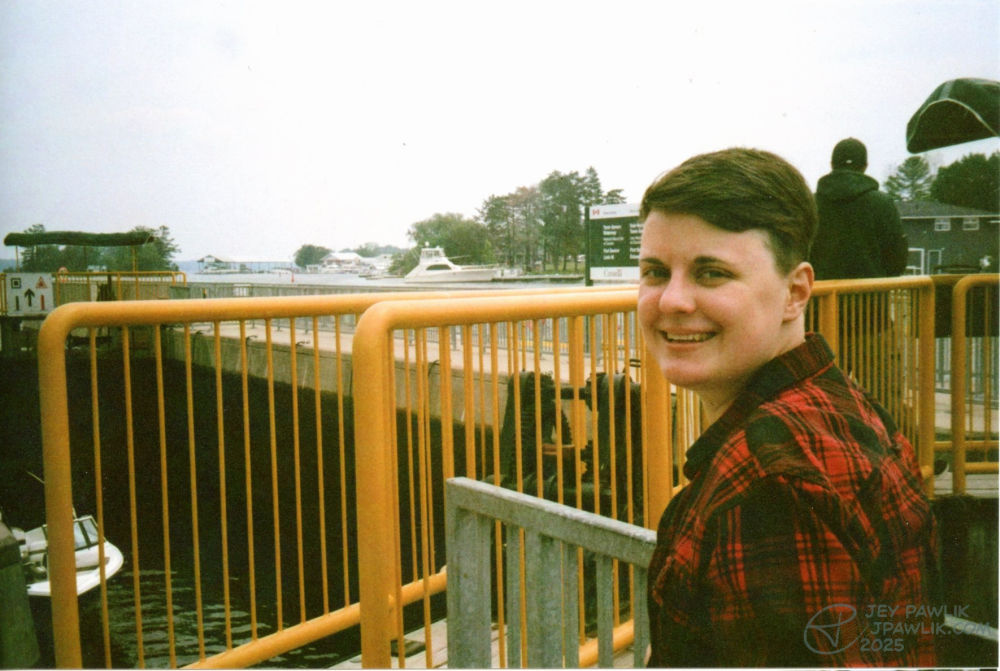
Max and I from our 2023 honeymoon. We saw a family of minks on the dock but the camera autofocused on the wrong thing!!!! DEVASTATED!
Samsung Slim Zoom, Fujifilm 400
June 2023, Georgian Bay
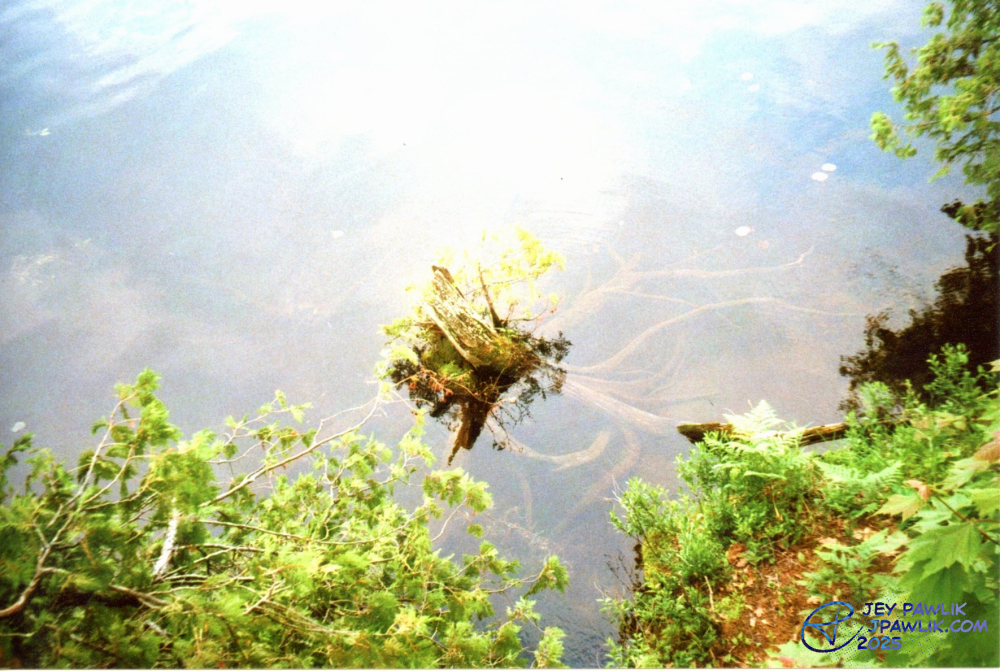
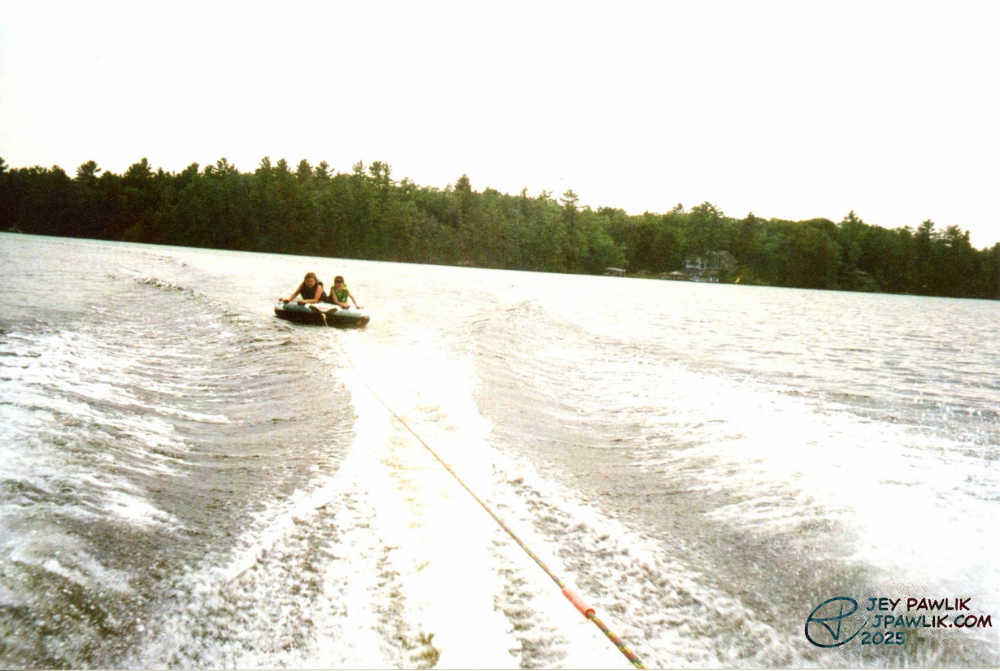
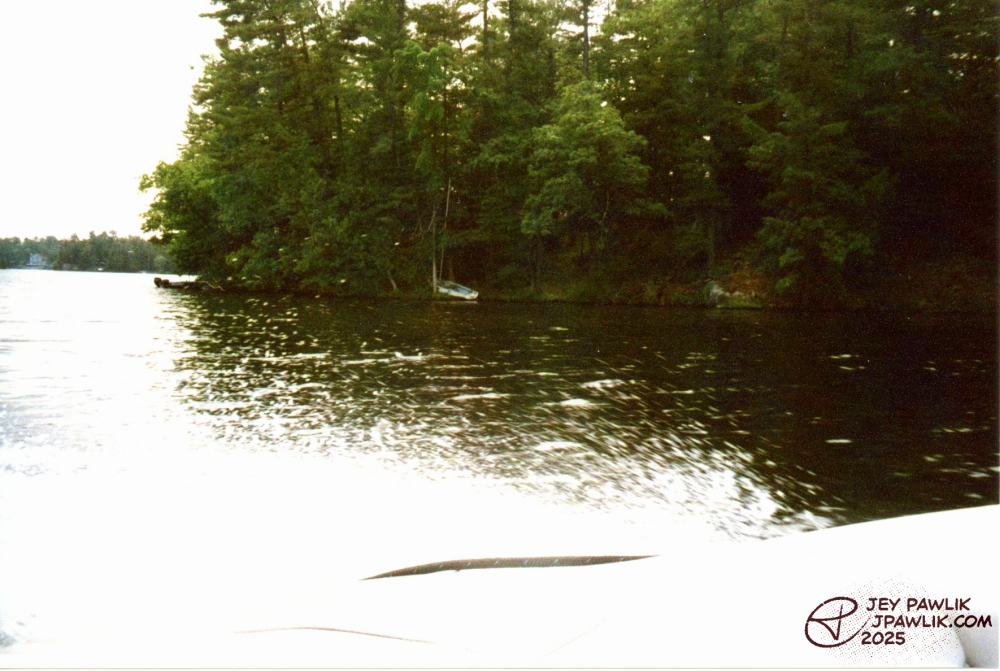
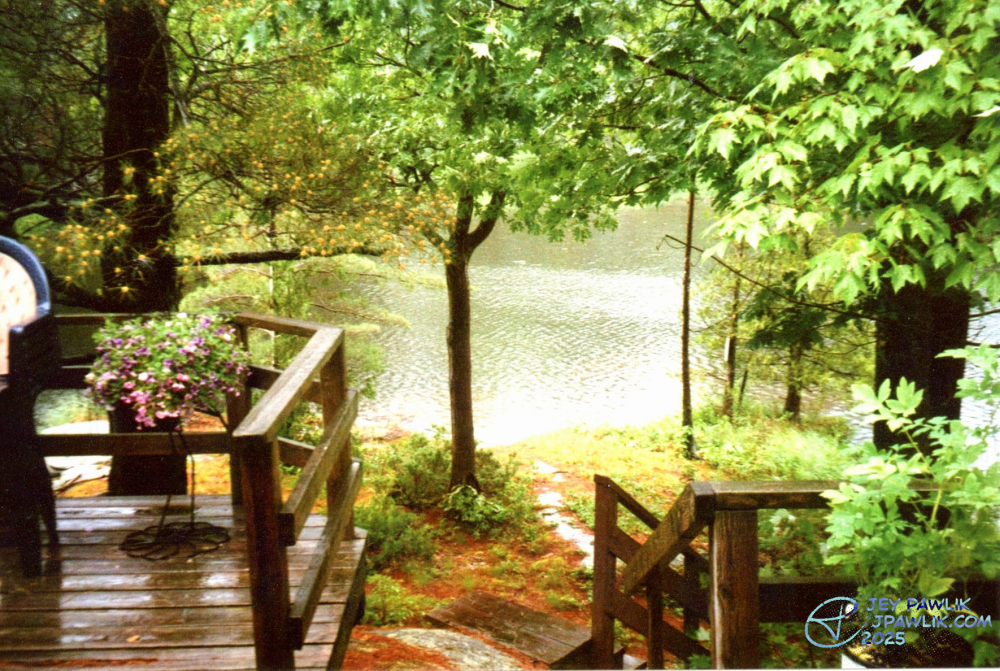

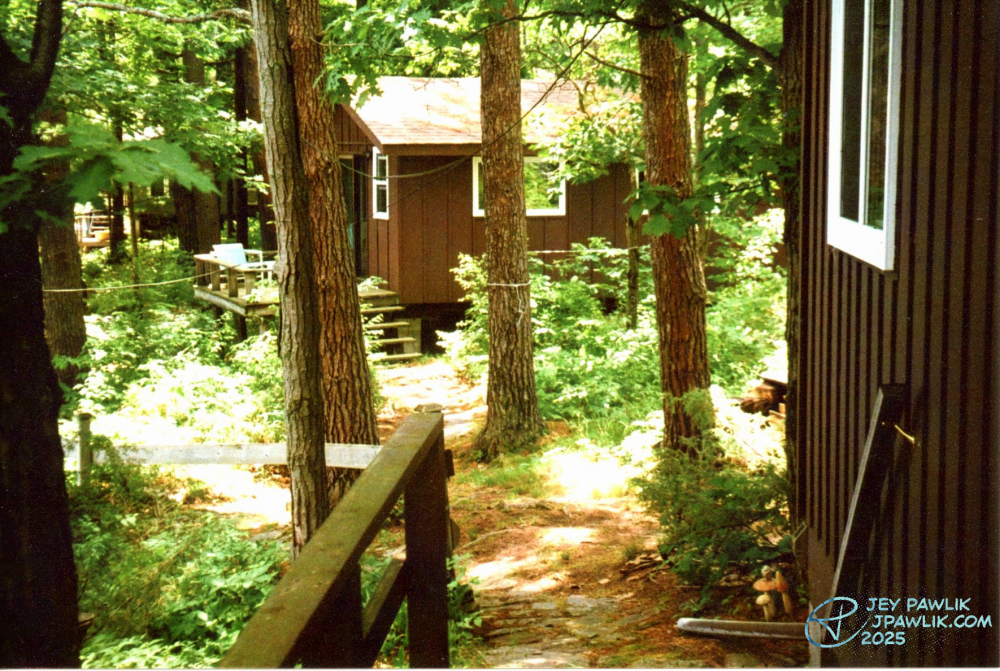
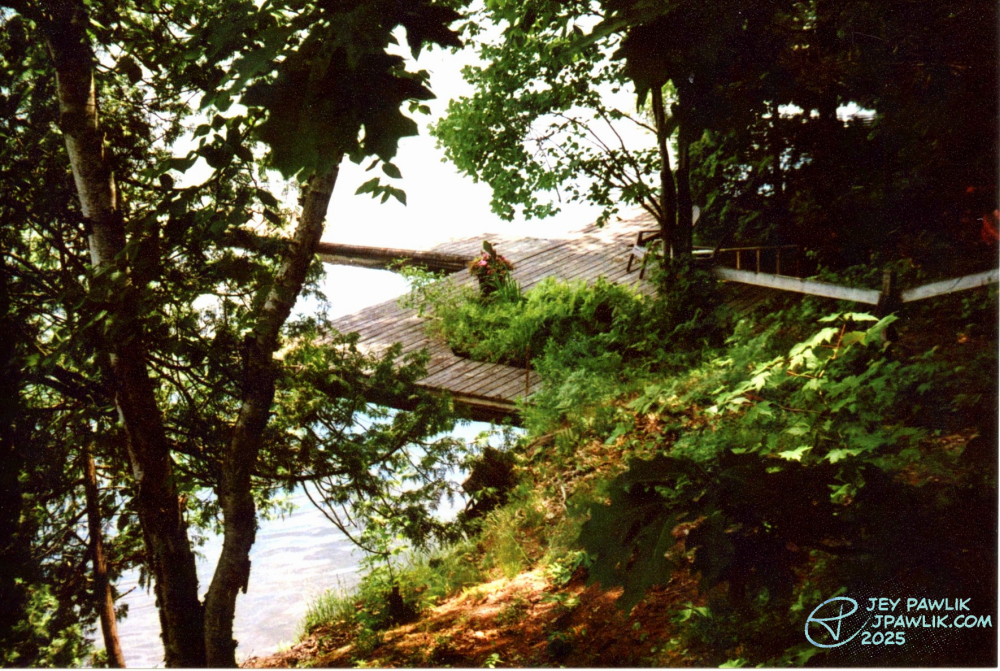
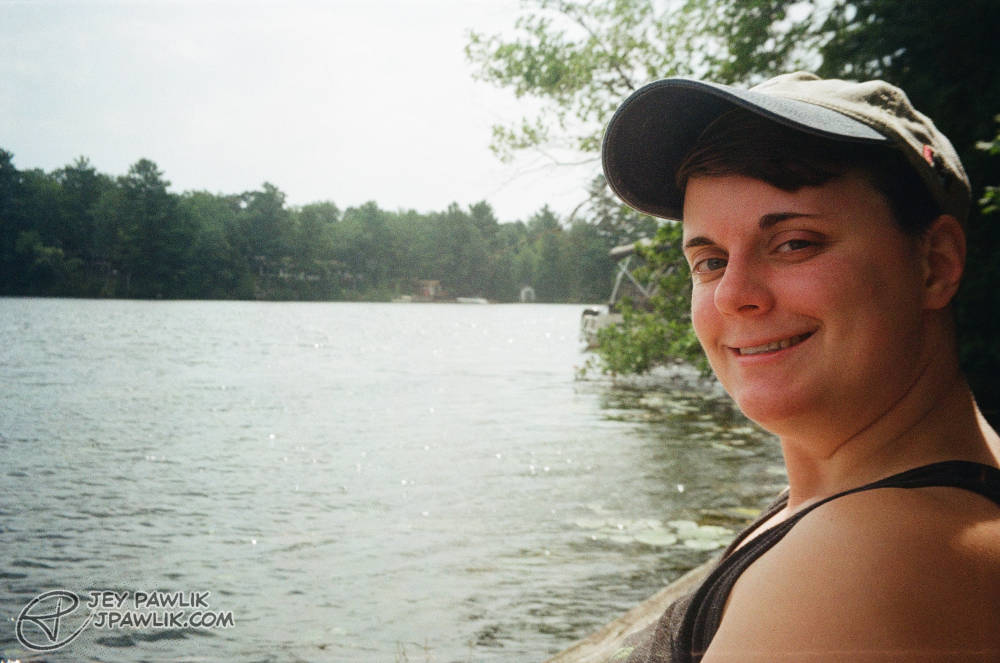
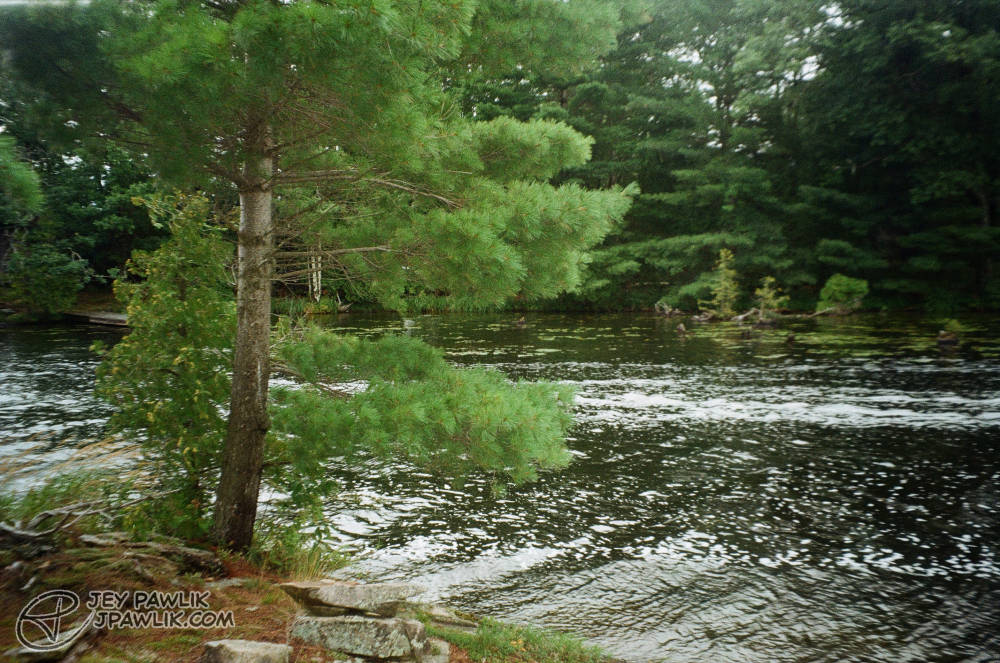
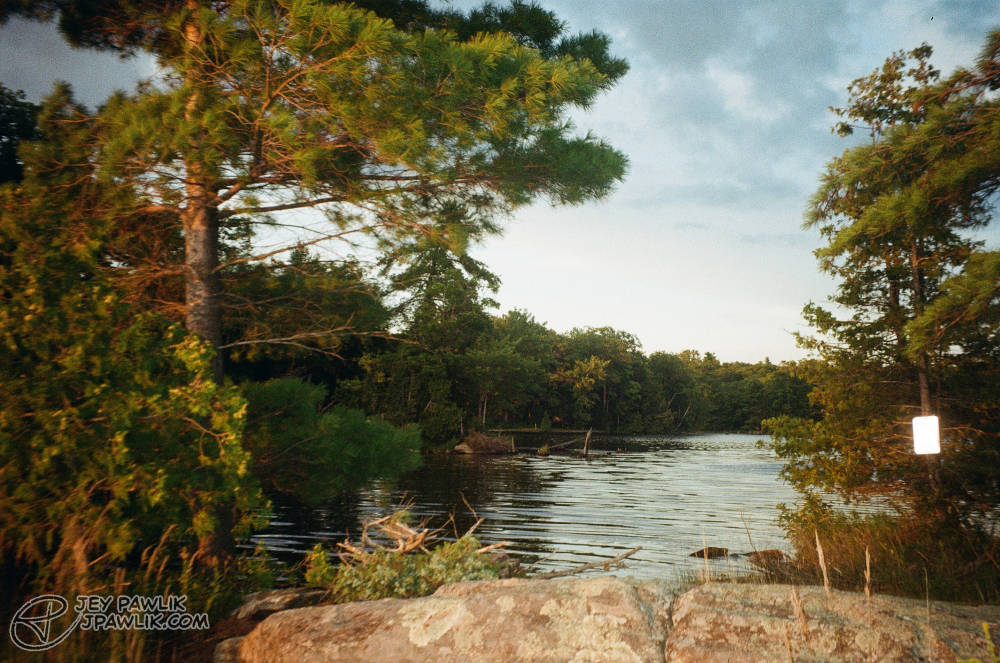
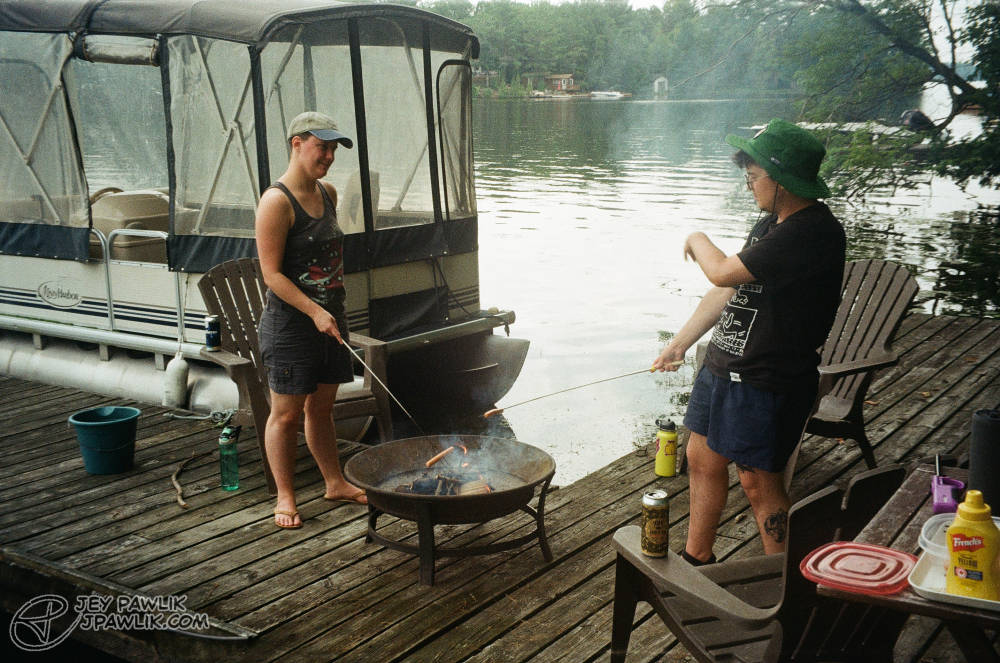
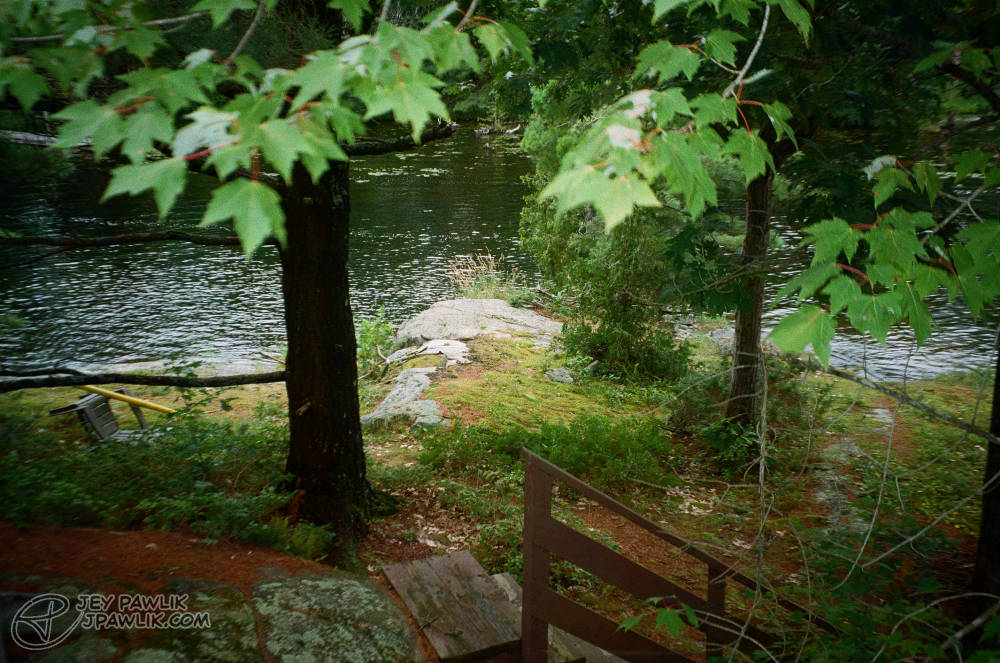
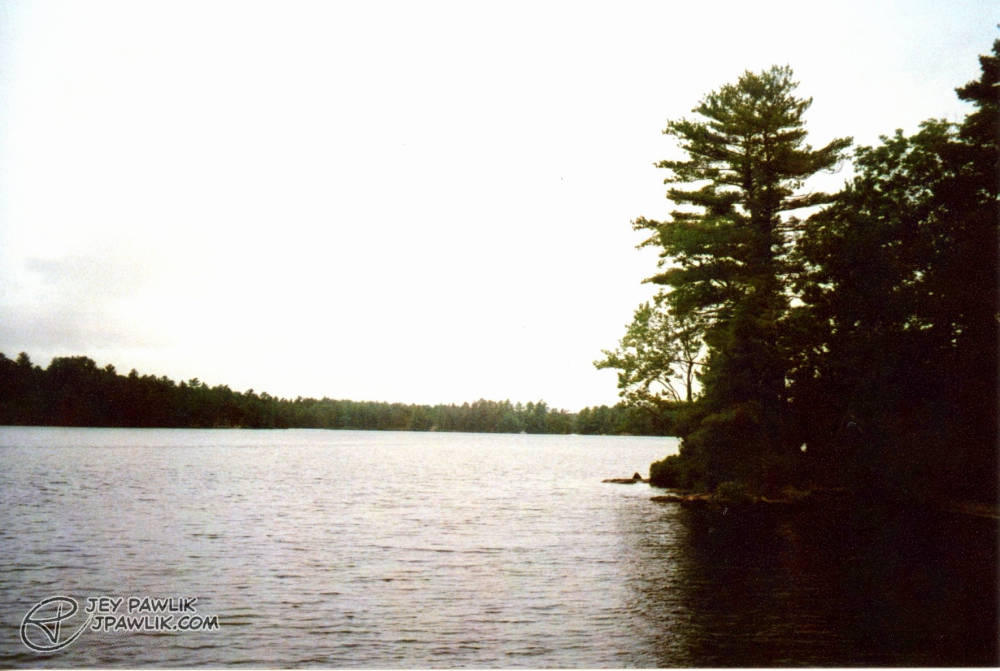
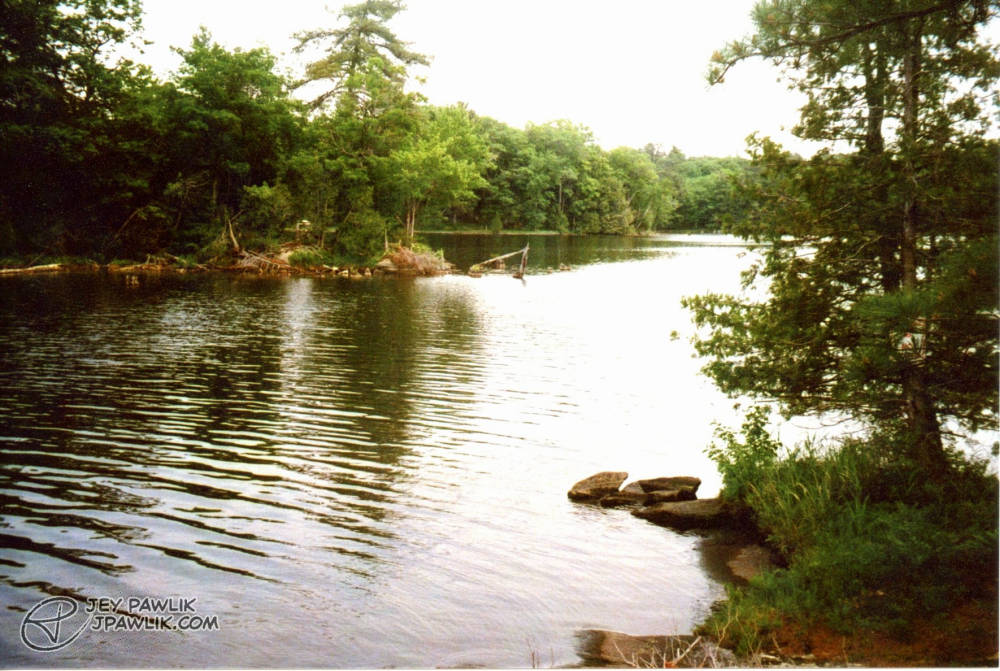
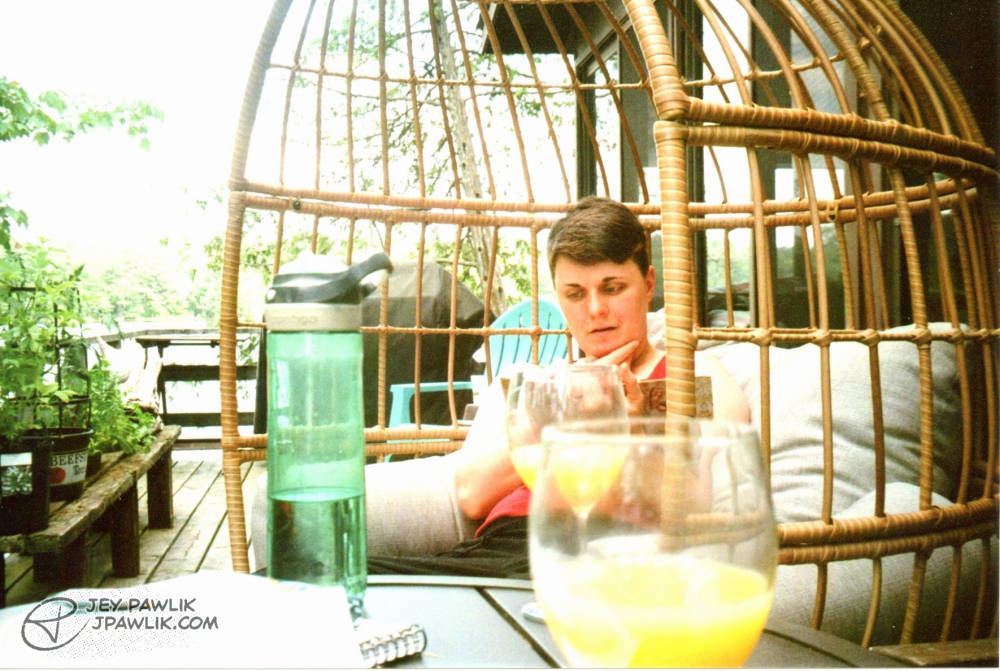
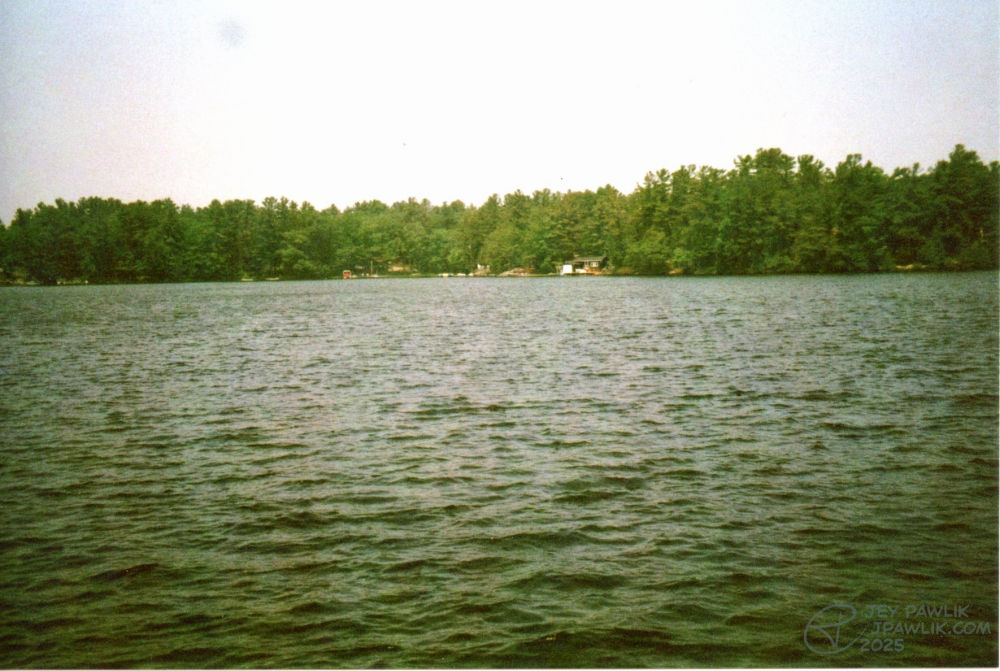
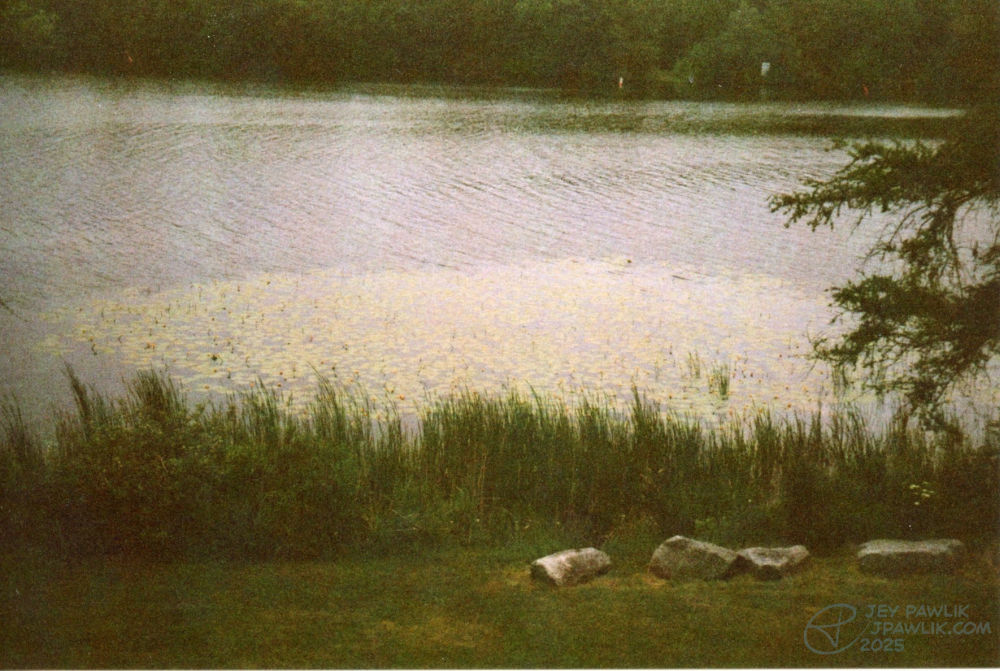
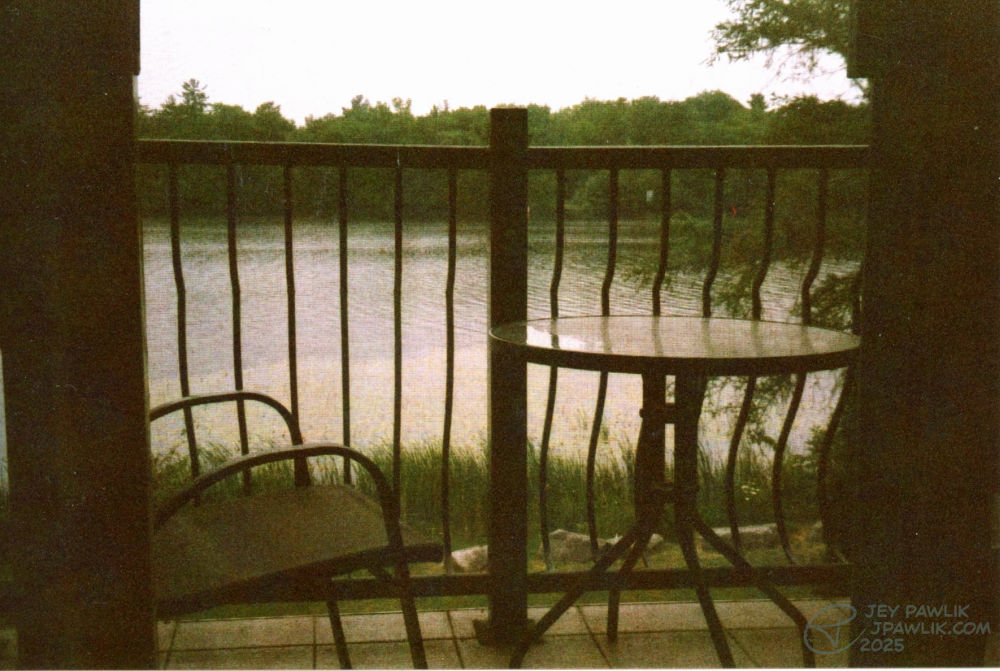
Some more film photos from my 2023 honeymoon. Once the sun came out, the greens turned out so beautifully!
Samsung Slim Zoom, Fujifilm 400
June 2023, Georgian Bay
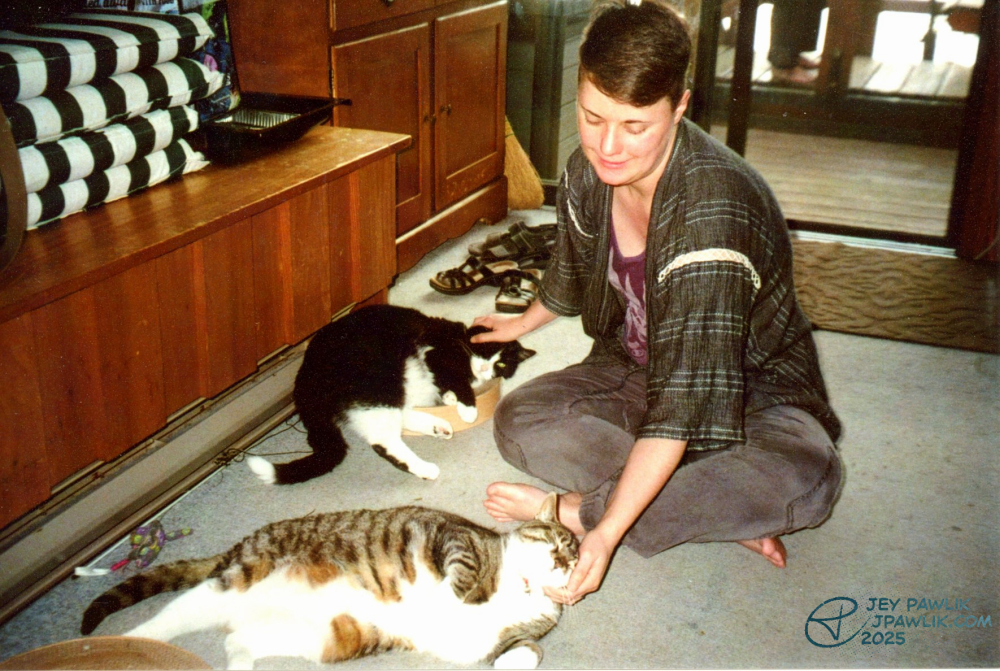
So in 2023 I started getting back into photography and more specifically film photography. For our honeymoon I’d borrowed a friend’s Samsung Slim Zoom and really enjoyed using it, there’s something about the colours and graininess of film that I just love so much.
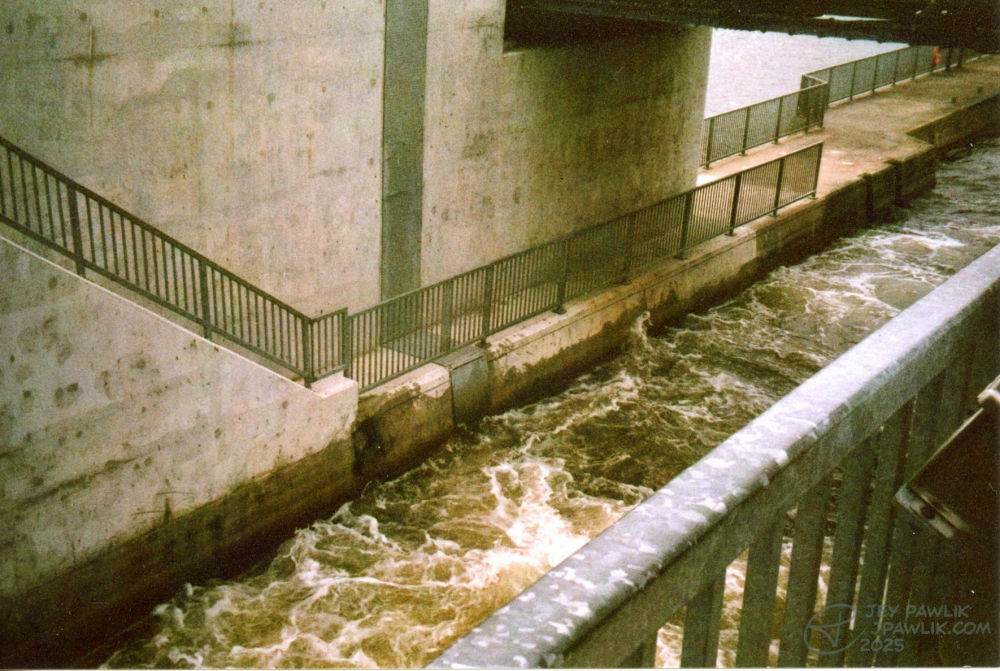
I’ll be posting these irregularly and I’m not going to stress about it AT ALL. No schedule, just maybe 10 photos at a time. I might post them on tumblr too but we’ll see.
Samsung Slim Zoom, Fujifilm 400
June 2023, Port Severn